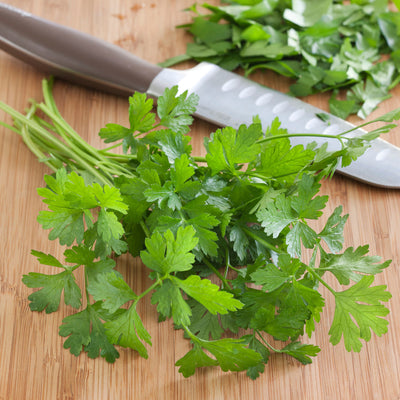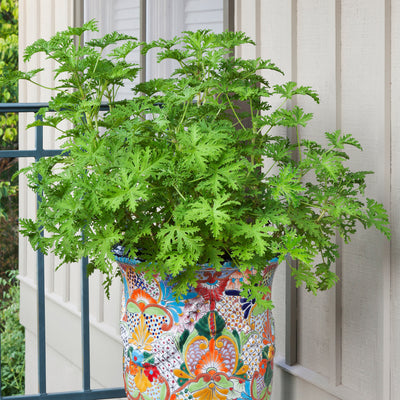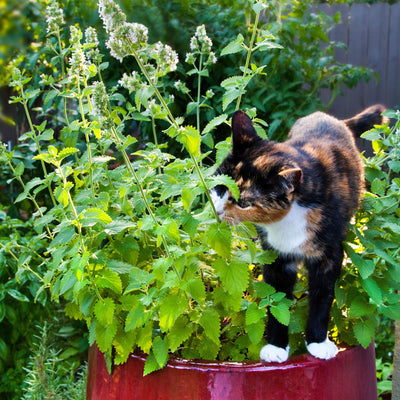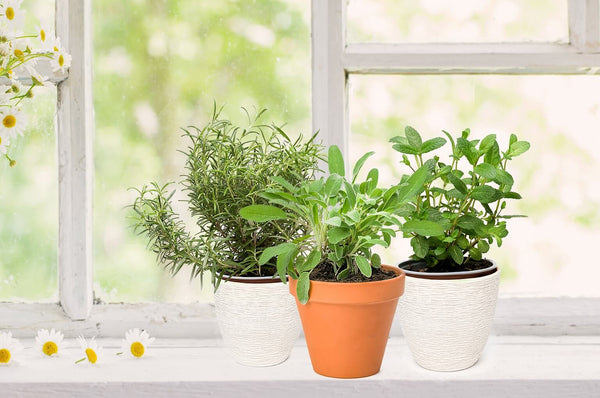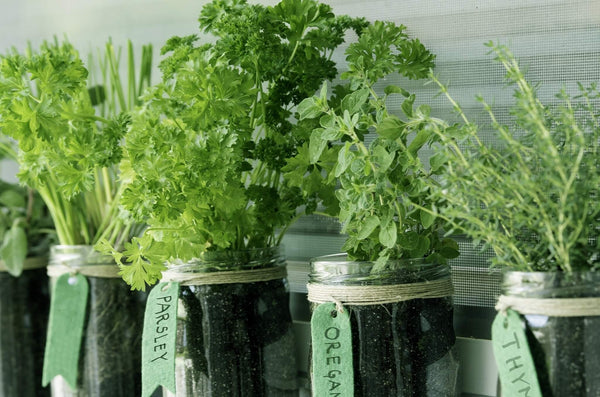


 Herbs
Herbs
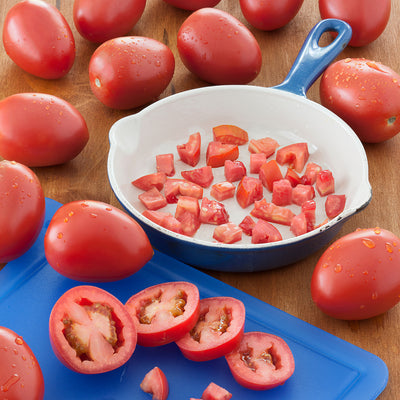
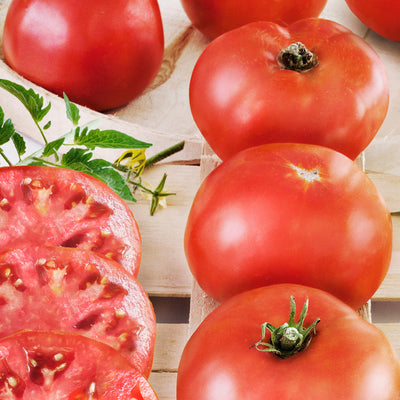
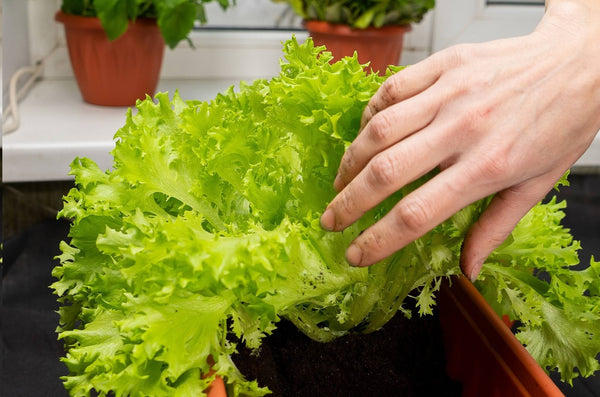
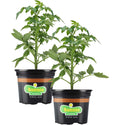
 Vegetables
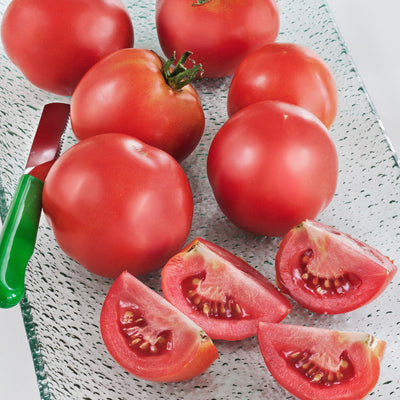
 Fruit
Fruit
 Flowers
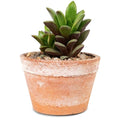 Succulents


Raised beds are a great way to get around the problem of poor soil, but what if you don't have any carpentry skills to build the actual bed? No worries! Skip the wood and put together a concrete block garden—you can go all the way from planning to planting in just a couple of hours.

A couple of notes: First, you'll notice we're talking about concrete blocks, the kind you can buy at a home improvement store. Stay away from old-fashioned cinder blocks, which may contain heavy metals—not a good thing for food gardens. Second, a concrete block bed can affect your soil's pH, making it more alkaline, so it's not good for growing acid-loving plants like blueberries.
Now, let's get started! Here's how to build a super simple concrete block garden.
What You'll Need:
- Graph paper and pencil
- Shovel
- Standard level
- Concrete blocks
- Cardboard
- Landscaping fabric (optional)
- Raised bed garden soil (such as organic Miracle-Gro® Raised Bed Soil)
- Bonnie Plants®
Step 1: Choose Your Space
Pick a spot that receives 6 to 8 hours of full sun daily to grow vegetables like tomatoes, peppers, and squash. Don't despair if all you have is partly shaded spot, though—many herbs (think parsley, mint) and greens (like lettuce and kale) can grow just fine in just 3 or 4 hours of sun per day. Use a shovel to level the area if needed. Also, make sure there's a water source nearby so you won't need to drag the hose across the lawn every time you need to water.
Step 2: Make a Garden Plan
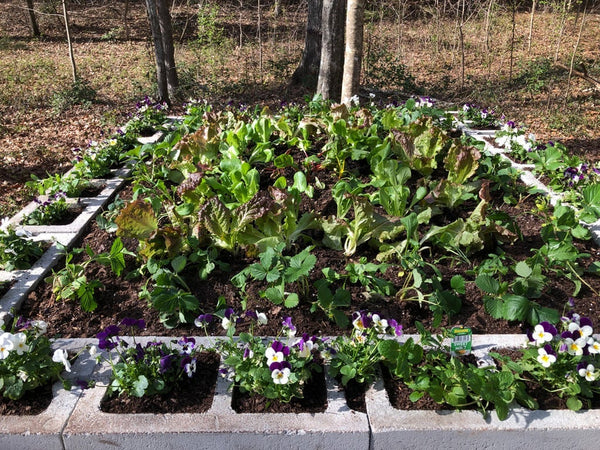
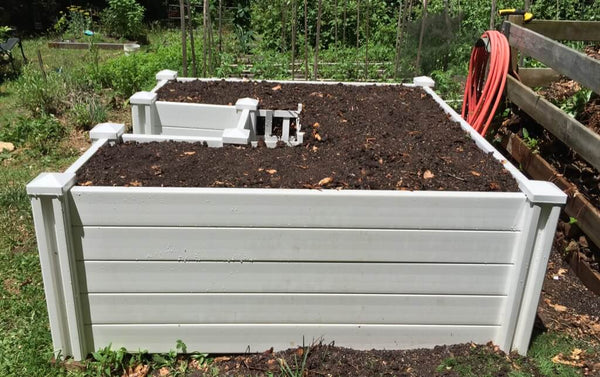
Decide how big to make your concrete block raised garden bed. It's best to limit the width of the bed to 4 feet, so you can easily reach the middle from either side for planting, weeding, and harvesting. Then, figure out how many blocks you'll need; it can help to sketch this out on a piece of graph paper. A typical concrete block is about 7½" high, 7½" wide, and 15½" long (though they're often advertised as 8″ x 8″ x 16″). For the bed shown in the photo above, we used 45 concrete blocks to create an interior growing space of about 4′ by 4½'.

Step 3: Build the Bed
Using your plan, begin laying out the blocks on level ground to form the first layer. Keep the blocks flush against one another (no space in between) and use a standard level to make sure the base is even and sides are straight. For good stability without having to use a concrete adhesive, keep the height of the raised bed to 3 rows and stagger the blocks.
Step 4: Smother Existing Grass with Cardboard
Lay a thick layer of cardboard in the bottom of the bed to keep both existing and future grass and weeds from growing up into your new raised bed garden. Cut and place the cardboard so that it's flush with the concrete blocks.

Step 5: Fill the Bed with Soil
Use the interior measurements of your concrete block garden to calculate the amount of soil you'll need. Most bags of soil are measured in cubic yards, so multiply length times width times height (in feet) of your space, then divide by 27. Or, if you're using Miracle-Gro® Raised Bed Soil, you'll find the info you need here and on the back of each bag. (Tempted to use dirt from your yard? Don't. Typical garden or yard soil is too heavy for raised bed growing.) Add an extra bag of soil to your shopping cart if you also want to plant small plants (such as annuals or vegetables) in the cement block openings. To reduce the amount of extra soil needed there, we tucked old landscape fabric into the bottom of each opening before adding soil. And voila—your concrete block raised bed is ready to plant! Be sure to choose Bonnie Plants® to get a strong start toward a great harvest (look for the Bonnie logo!) and follow the spacing guidelines on the plant tags. Water immediately after planting and then whenever the top inch of soil is dry. For best results, be sure to feed plants regularly with a premium fertilizer such as Miracle-Gro® Raised Bed Plant Food, which provides just the right balance of nutrients for veggies, herbs, and other raised bed plants.
Now that you've joined the homegrown revolution, you'll be able to enjoy fresh food all season long. That's a pretty wonderful pay-off for just a couple hours' work!
Article and images by Julie Thompson-Adolph