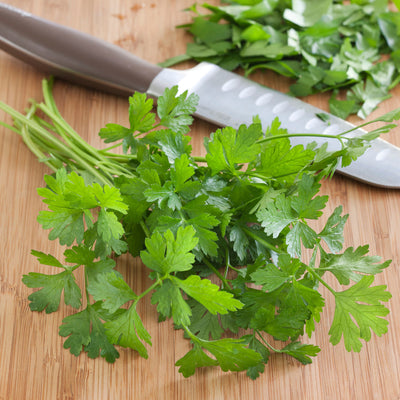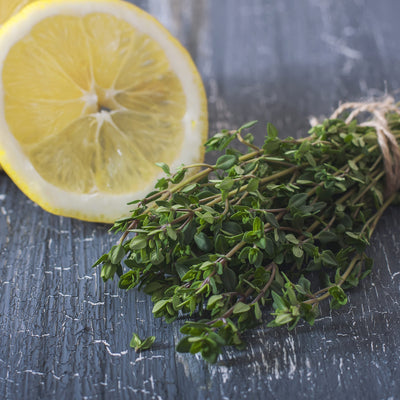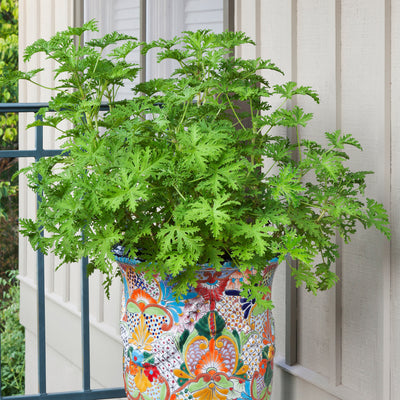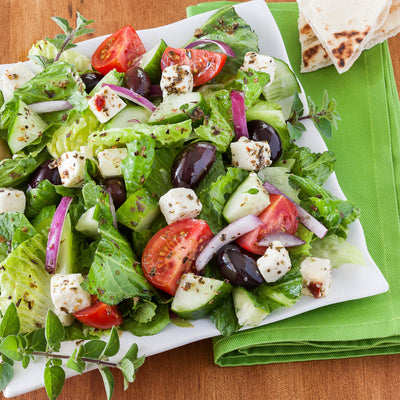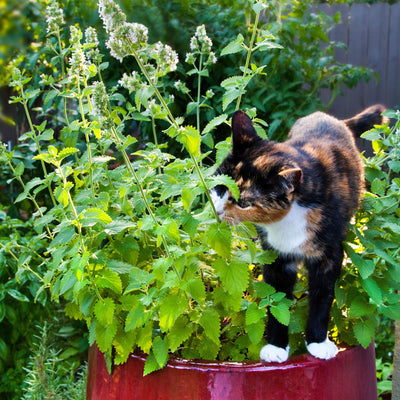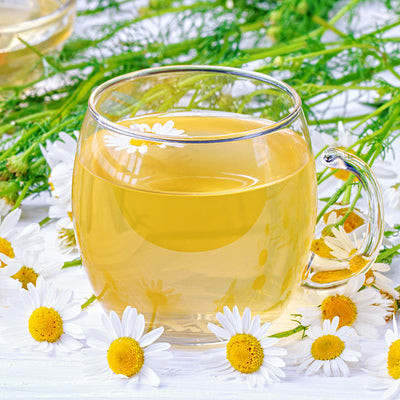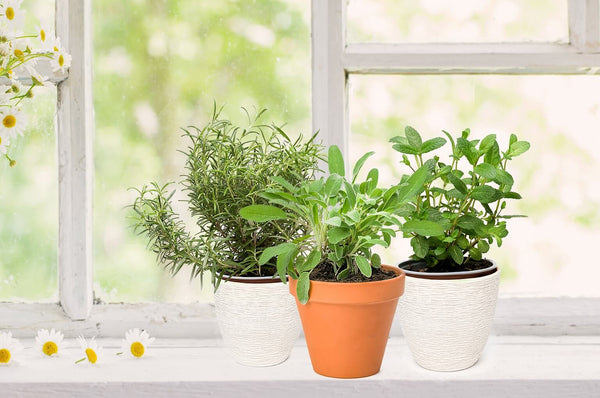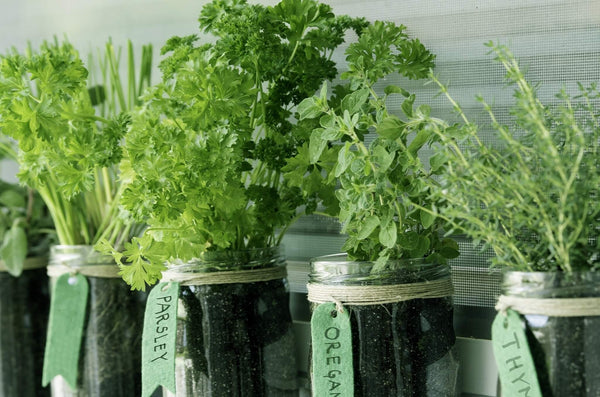


 Herbs
Herbs
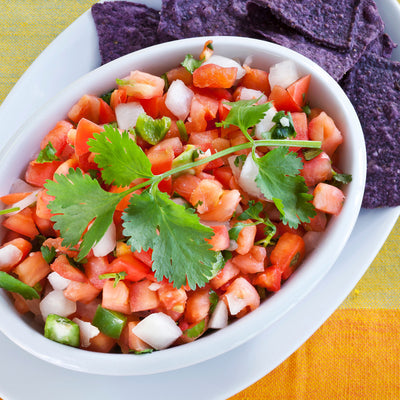
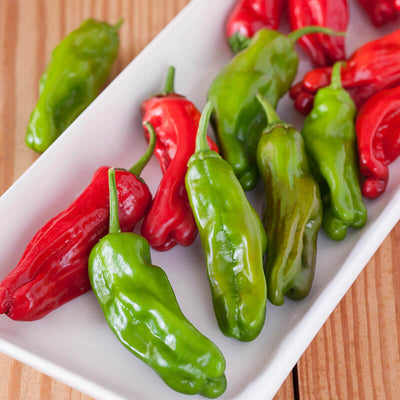
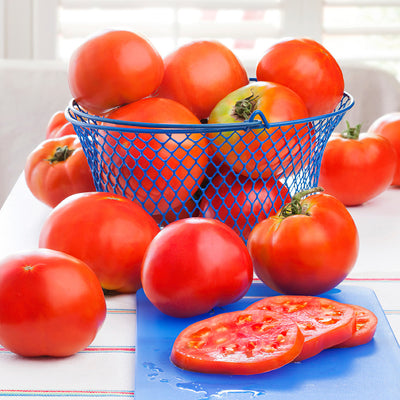
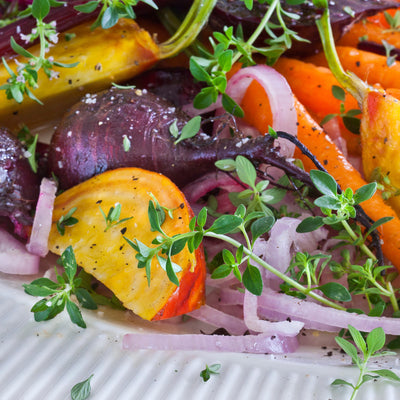
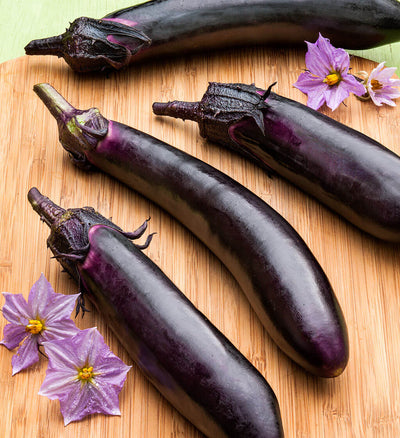
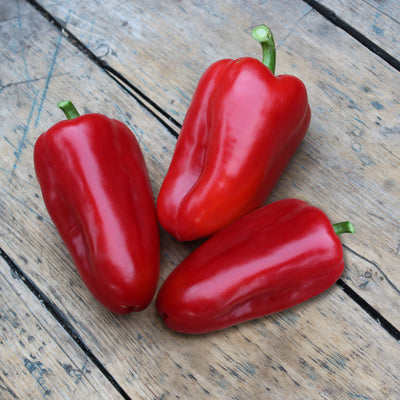
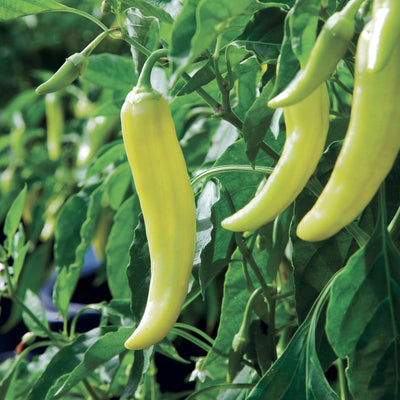
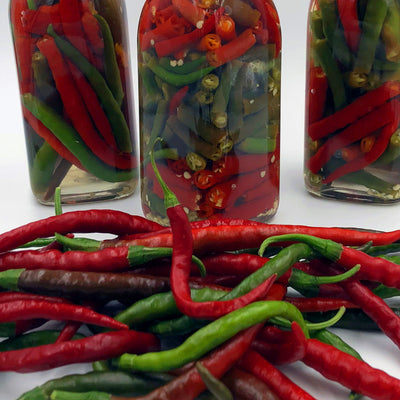
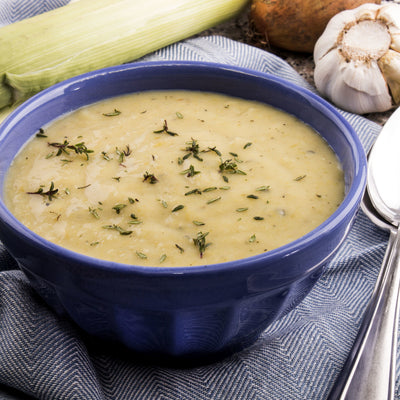
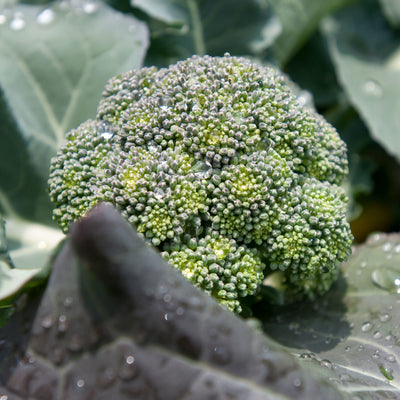
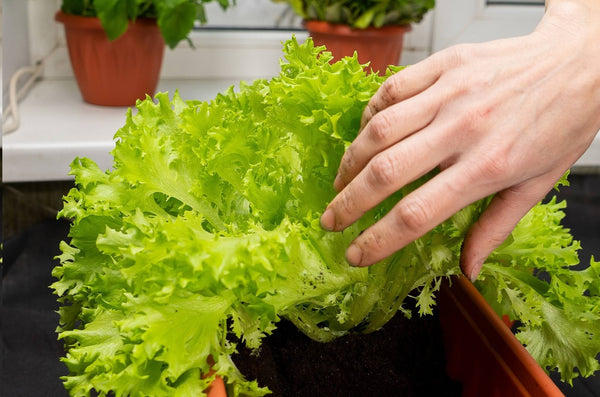
 Vegetables
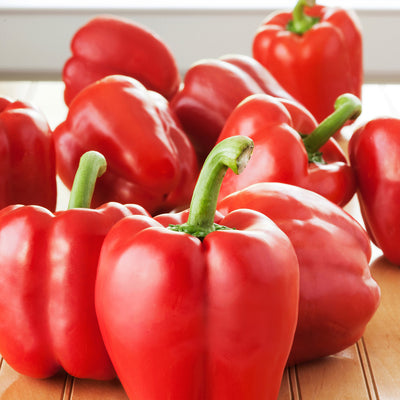
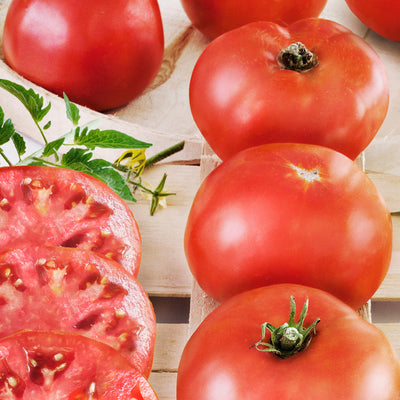
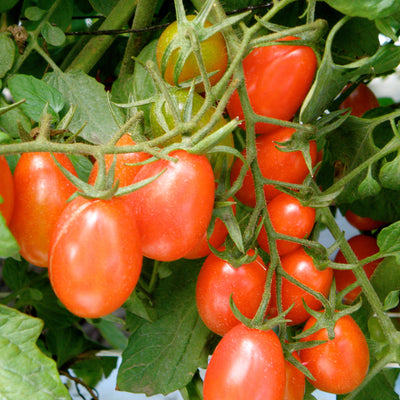
 Fruit
Fruit
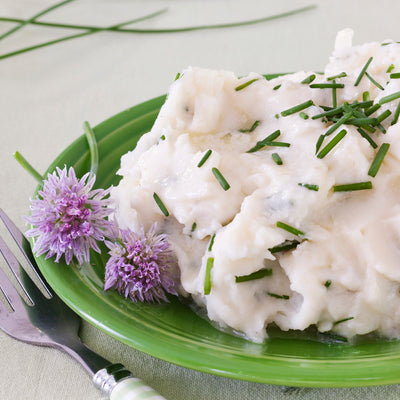
 Flowers
 Succulents


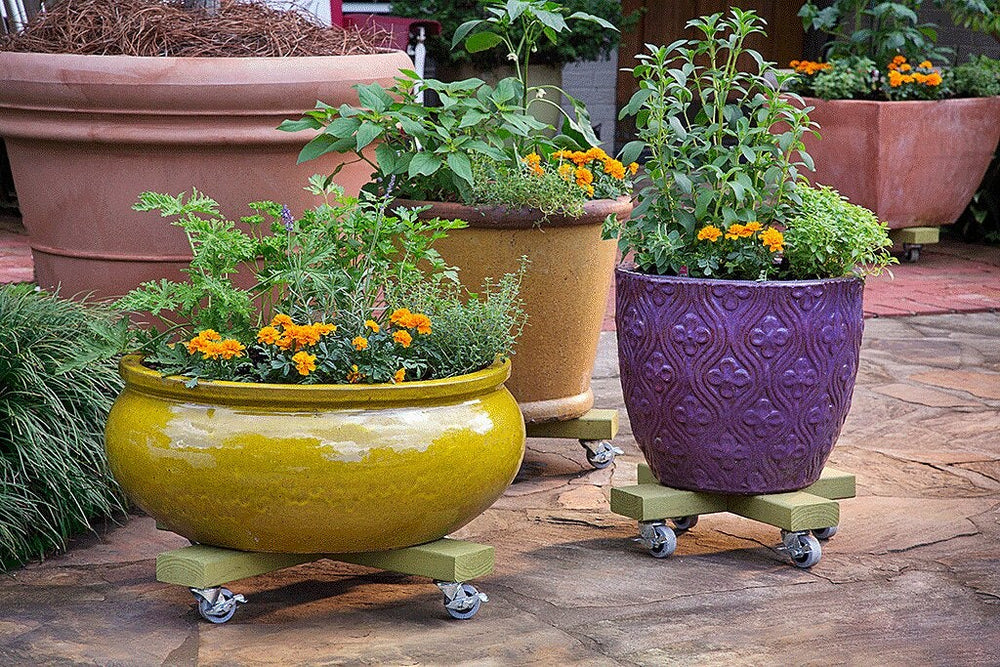
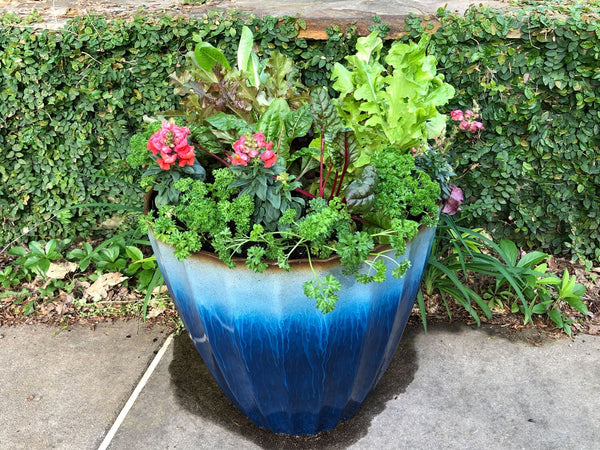
Containers are a great way to create a garden anywhere you have sun, but larger pots can be heavy and hard to move in case of frost, or to follow the sun as the seasons change. This DIY plant caddy is an easy-to-make solution. All of the materials are available at your local home improvement store, and you can have the wood cut to length at the store if you prefer. The materials below are for two 18- to 22-inch caddies, but can easily be adjusted to fit other sizes.
Materials:
- Circular saw
- Drill
- Flathead screwdriver
- Chisel
Instructions
- Cut boards to length. For example, for a pair of 22″ caddies, cut four 22″ long boards.
- Find the center of one cut piece, then measure and mark 1¾" on either side. Adjust the depth of the circular saw blade to ¾". Clamp the board and cut across each mark, creating two cuts across the width of the board. Cut thin slices every ⅛" between those two cuts, then use remove the wood between the two original cuts. Level the cut section with a chisel.
- Repeat with three remaining boards.
- Fit cut sections of two boards together so they form an X. Mark and drill four countersink holes that are ⅜" deep and ¾" wide. In the center of each one, drill a ¼" shaft for the bolt.
- Repeat with the second set of boards. When finished, paint or stain both Xs and let dry completely.
- Attach bolts, using a washer on either side of each nut.
- Flip one X over and pre-drill holes 5/16″ holes for the casters, putting them ½" to ¾" from the end of each "arm". Attach casters using exterior screws.


Now that you know how to easily move them around, go ahead and plant up those containers! To give your plants their best chance at success, fill pots with a quality potting mix like Miracle-Gro® Moisture Control® Potting Mix, which provides a rich, nutrient-filled environment for your plants roots, plus helps protect against under- and over-watering. Then, be sure to feed them regularly with Miracle-Gro® Shake ‘n Feed® Tomato, Fruit & Vegetable Plant Food to make sure they continue to get all the nutrients they need throughout the growing season. For more info on growing in containers, check out our Container Gardening section.
Article written by Van Chaplin.