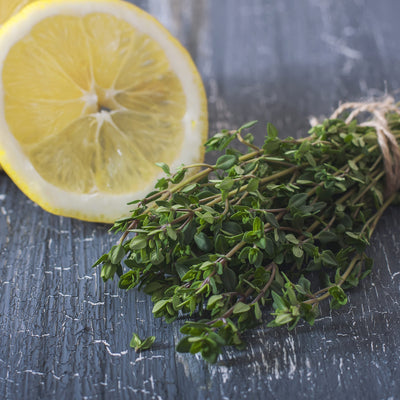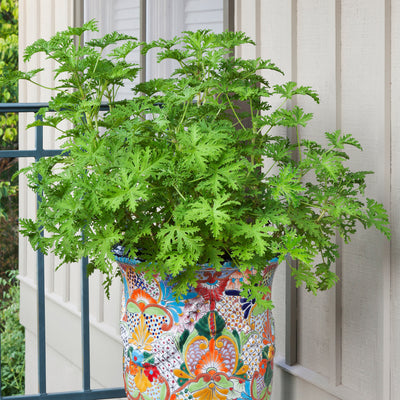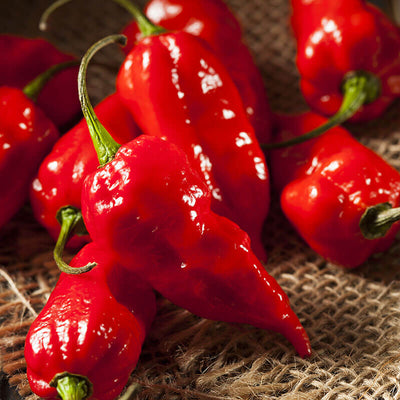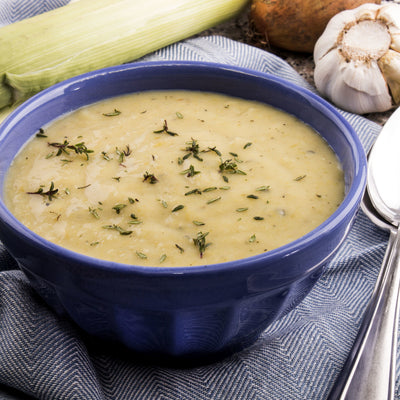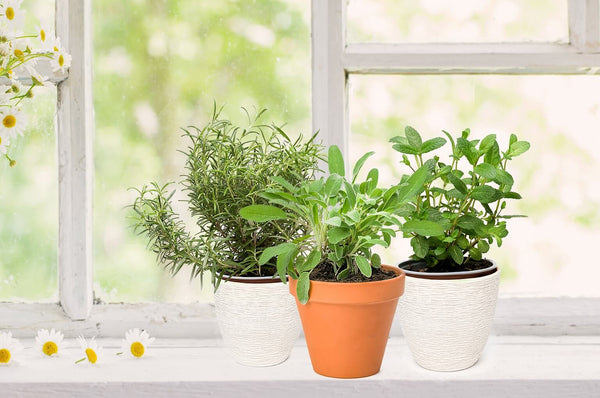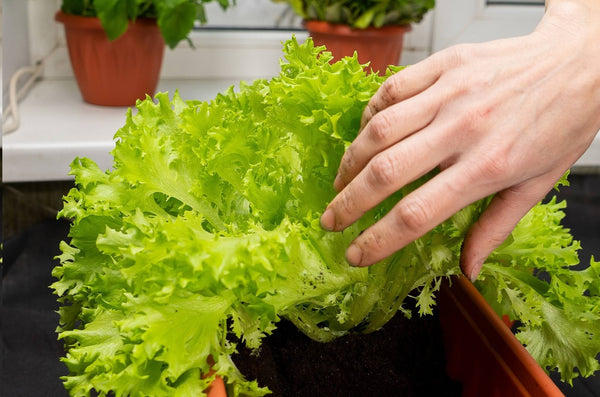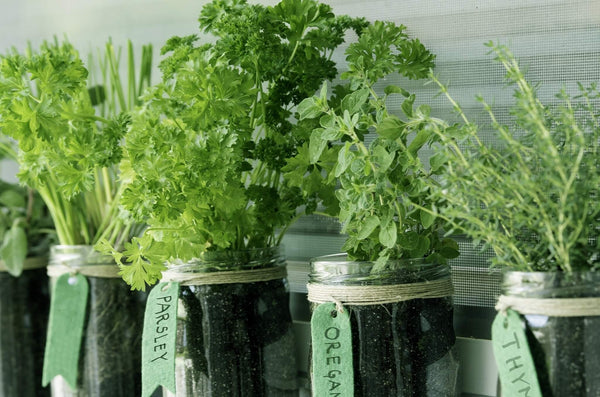


 Herbs
Herbs
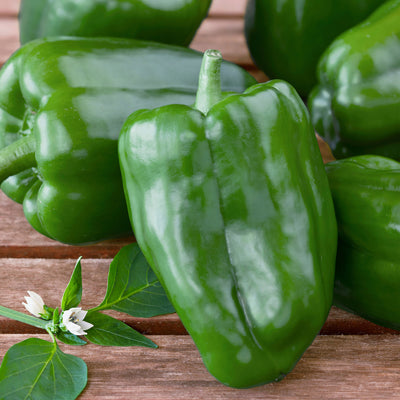
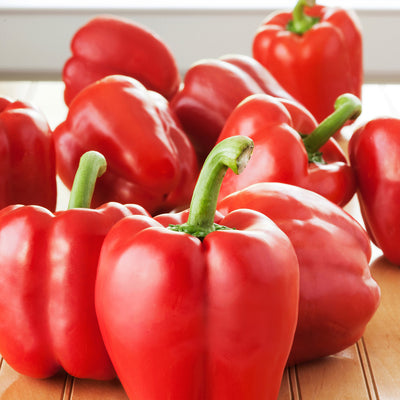
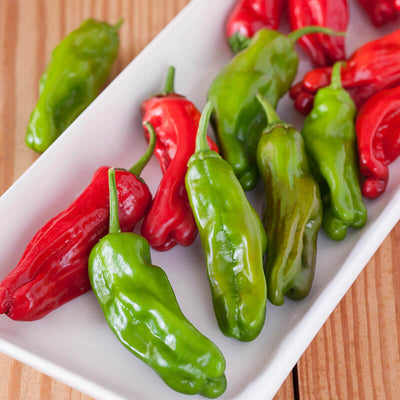
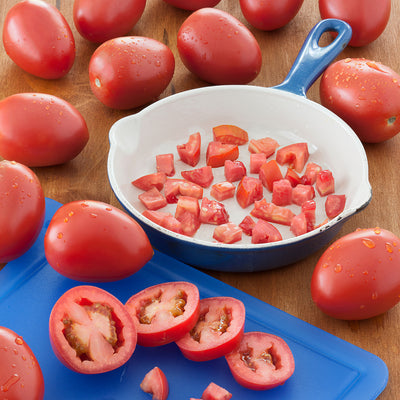
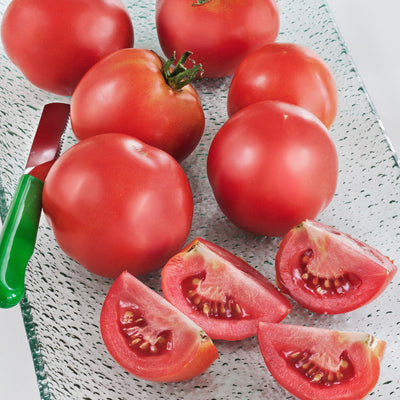
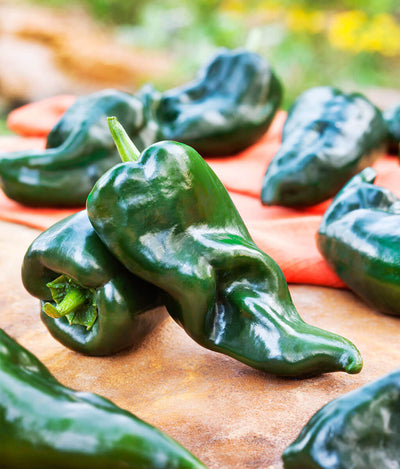
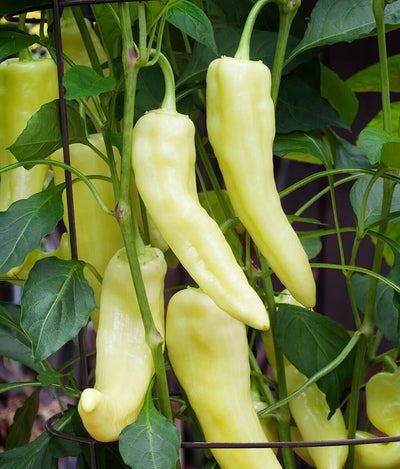
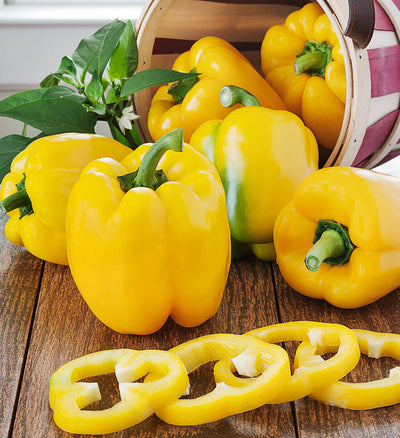
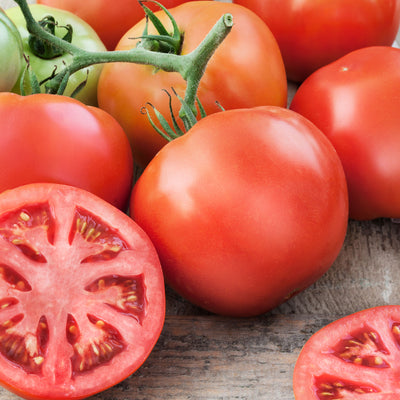
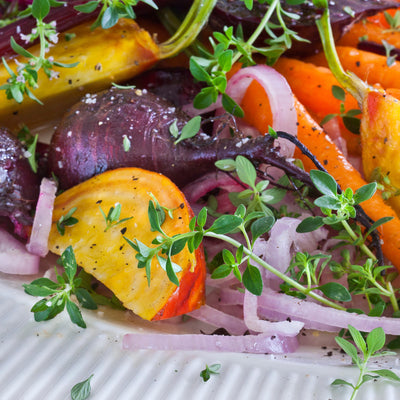
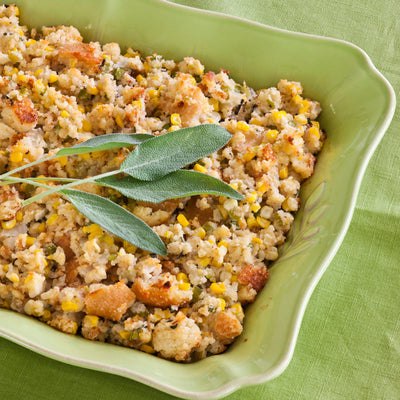
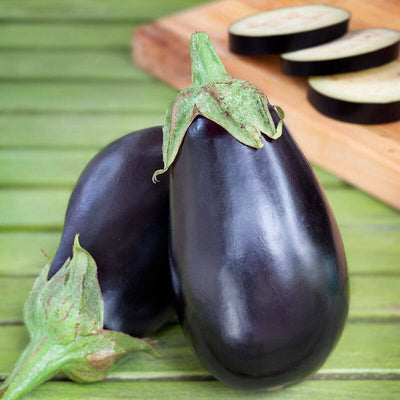
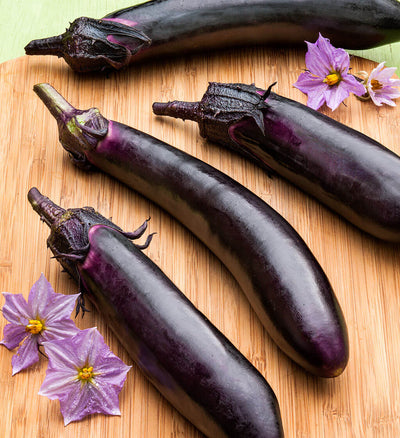
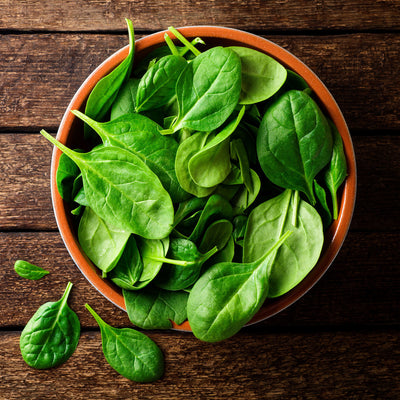
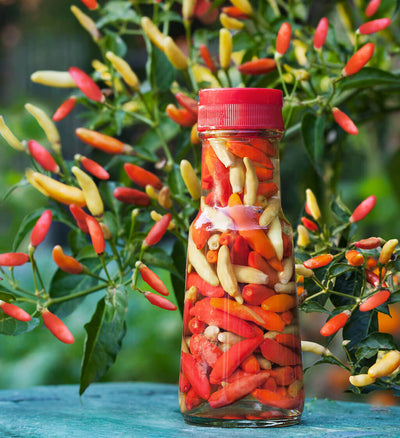
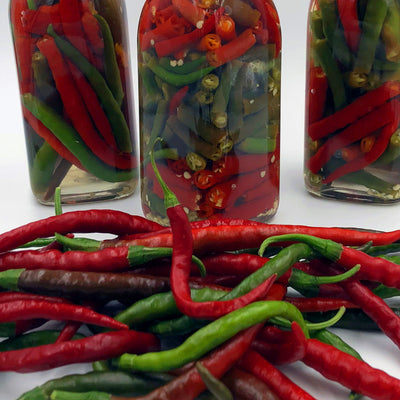
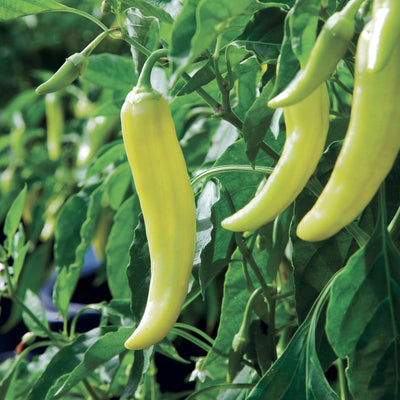
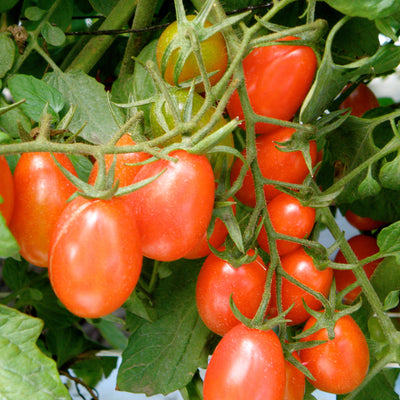
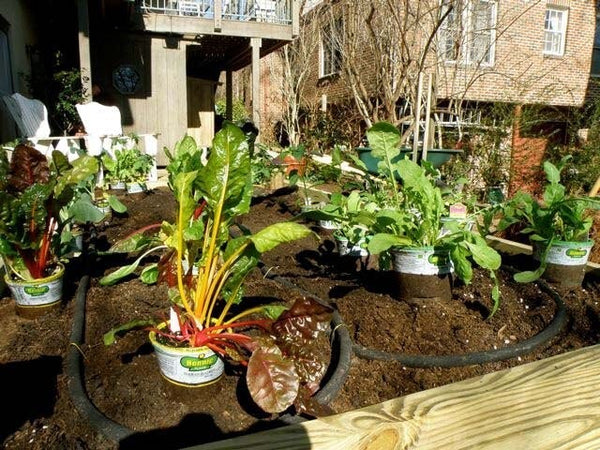
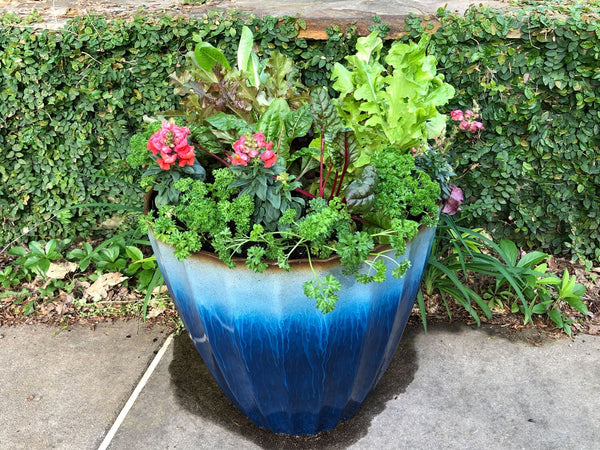
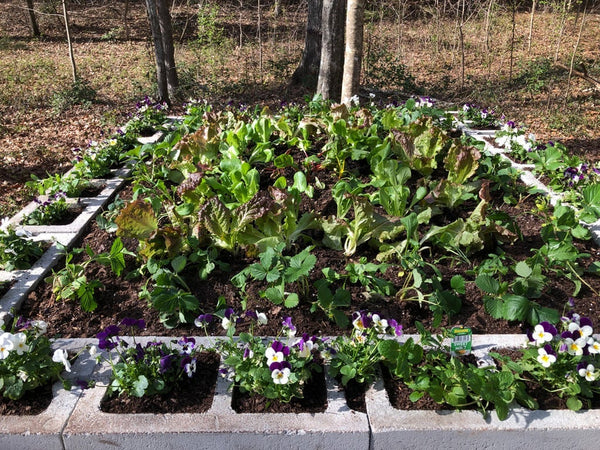
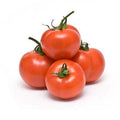
 Vegetables
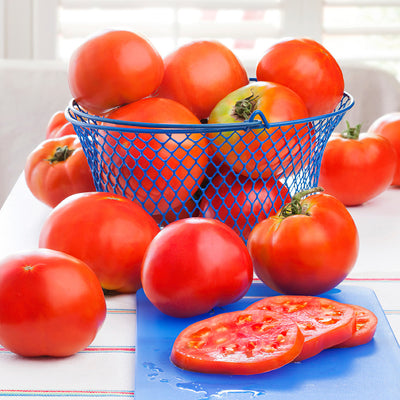
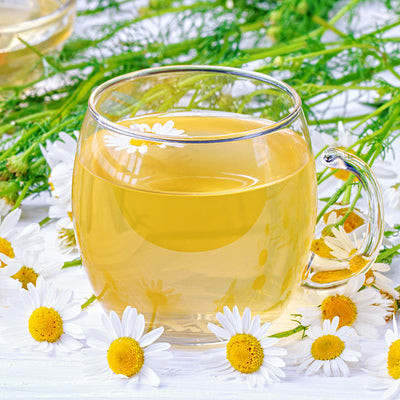
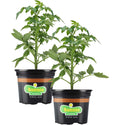
 Fruit
Fruit
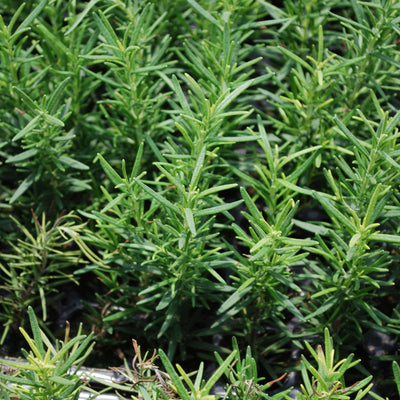
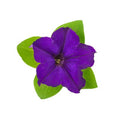 Flowers
 Succulents


When it comes to thrifty, versatile ways to garden, it's hard to beat gardening using a bale of straw. It's inexpensive (usually well under $10), you can put it wherever you want, and it'll eventually turn into compost – so what is your garden this year can feed your garden next year. How's that for recycling? Many garden centers, home improvement stores, and feed stores sell bales of straw. Once you bring yours home, there are just a few steps you'll want to take to get it ready for planting. Learn all about them in our handy video or follow the instructions below.
Choose a sunny spot
Once that bale gets wet (details below), it'll grow much heavier and harder to move, so make sure it's where you want it to stay. If you pick a grassy area, put several layers of newspaper or a piece of cardboard underneath to keep grass and weeds from growing up into the bale. Or, if you want to give your bale a more polished, upscale look, consider building a simple, handsome frame to hold it. Ours (pictured above) has casters on the bottom for easy movement, making it perfect for a deck or patio. Use these step-by-step directions to build our Straw Bale Frame. (Tip: You'll want to condition the bale nearby before you put it in the frame, to avoid getting conditioning-related runoff on your deck.)
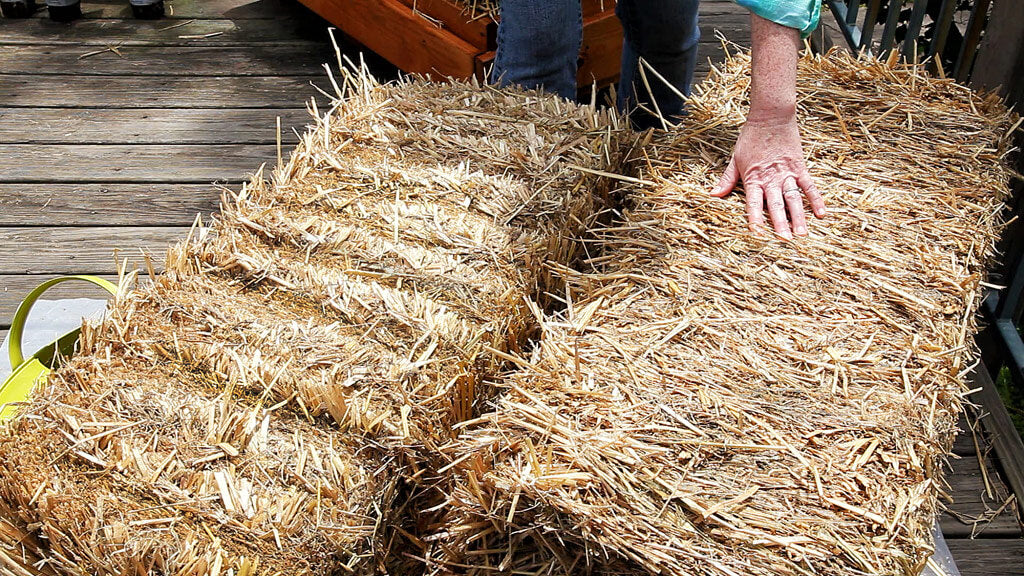
Position the bale
Turn the bale narrow side up, so the strings holding the bale together are now on the sides (you don't want those strings to be on top, just in case you sever one while you're planting). On one narrow side, the straw will be folded over; on the other, it will be cut. Make sure the cut side is up, as the hollow straws will allow moisture to penetrate better.
Condition the bale
As soon as moisture hits the bale, it will start to decompose, and the inside will heat right up – definitely not a good thing for the plants. The solution? Condition the bale before you plant. This process usually takes around 10 to 14 days. For the first 3 days, simply water the bale thoroughly so it stays damp. To speed decomposition, sprinkle a cup of ammonium sulfate on the top of the bale on days 4 through 6, then a half-cup on days 7 through 9. Each time, thoroughly water the fertilizer in.

Choose your plants
On day 10, return to simply watering the bale, and continue doing that until the temperature inside the bale starts to reflect the temperature outside. Use a compost or meat thermometer to keep tabs; you'll see the temperature start to rise after the first day or two, spike about midway through the process, then start to come back down. Once it reaches ambient temperature, the bale is ready to be planted.
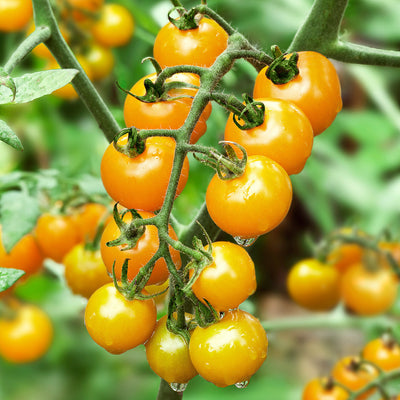
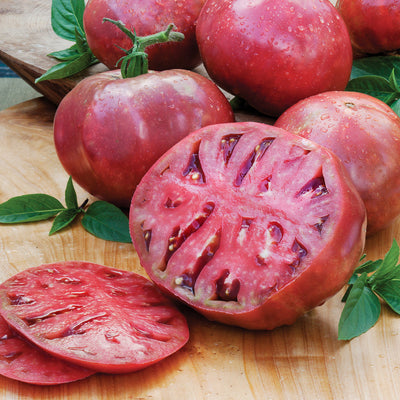
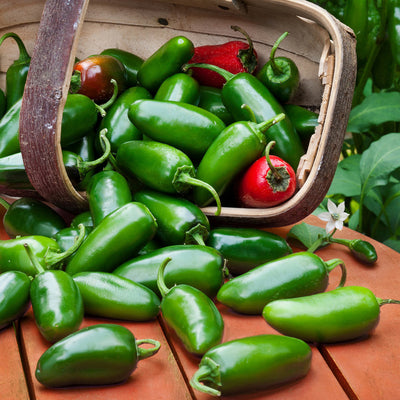
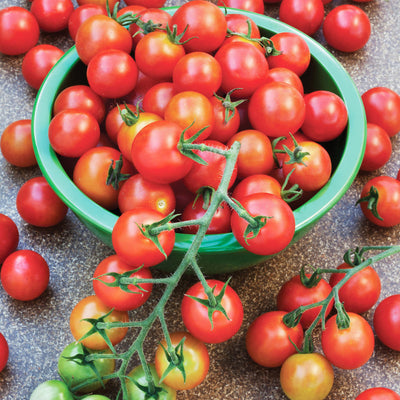
You can grow just about anything in a bale that you can in the ground — with a few exceptions. Tall plants like indeterminate tomatoes and corn, for example, get too tall and heavy, and can start to break the bale apart. (If you wish to grow tomatoes, stick with bush or other determinate varieties.) Running plants like sweet potatoes can be harder to grow in a bale, too. Also, if you live in a very warm, humid part of the country, the bale may begin to decompose more quickly than in other climates, so you'll want to stick with smaller plants like herbs and flowers, or use it for your cooler weather leafy crops. Whichever plants you choose, space them the same as you would in the ground.

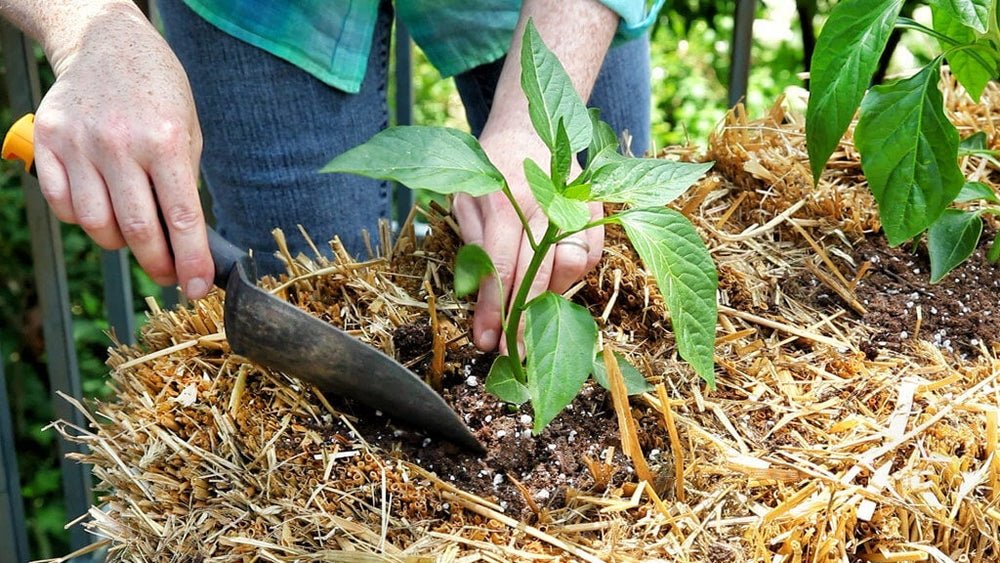
Plant the bale
Remove straw to form a hole that is as deep as rootball of your plant (though if you're planting a tomato, of course, you'll want to go deeper.) Place the plant in the hole, add some quality potting soil around it for extra nutrients and stability, then fill the rest of the hole in with some of the straw you removed. Water well.
Water and fertilize regularly
Your plants will receive less nutrition from the bale than they would from soil, so it's important to fertilize them every week or two. You'll also want to make sure not to let the bale dry out.
And you're done! You can create your garden out of as many bales as you want, arranged in whatever shape or style you like. Happy growing!