One of fall's ideal vegetables, rutabaga ripens best in cool autumn weather, taking on its characteristic mild, rich flavor after fall frosts descend on the garden, and staying in the ground for a long time for later harvests.
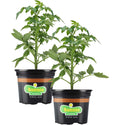
Rutabagas are known by many names: Russian turnip, Swedish turnip, Swedes, winter turnip, yellow turnip, and Canadian turnip. As these names suggest, rutabagas are related to turnips, created by a natural cross between cabbage and turnip. Compared to turnips, rutabagas grow larger (thanks to their cabbage heritage) and require a few weeks longer to mature. To help you get closer to harvest time, skip the seeds and start with vigorous young Bonnie Plants® rutabaga plants. Bonnie has over a century of experience helping home gardeners, so you know you can rely on us.
Quick Guide to Growing Rutabagas
- Plant rutabagas in late summer so they mature during the cool weather of fall. A good rule of thumb is to count back 90 days from your first fall frost.
- Space plants 12 to 18 inches apart in fertile, well-drained soil with a pH of 5.5 to 7.0.
- Before planting, give young plants a solid foundation by mixing in several inches of aged compost or other rich organic matter into your native soil.
- Productive rutabagas rely on consistent water, so use a soaker hose or drip irrigation to keep plants happy.
- Maximize your harvest potential by feeding plants regularly with a continuous-release fertilizer.
- Harvest rutabaga roots once they're 3 to 5 inches wide. You can also harvest a few young leaves to enjoy in salads.
Soil, Planting, and Care
Growing rutabagas isn't hard; the greatest challenge is timing your planting. Because rutabaga roots ripen best in cool weather, they need to be planted in time to mature in cool weather. Rutabagas are perfect for a fall crop in cooler regions or as a winter crop in warmer zones. They need about 80 to 100 days from planting to harvest. In cooler regions, count back 90 days from the average date of the first fall frost, which you can find for your area on our fall frost maps. In warmer areas, time fall plantings by waiting until night temperatures are consistently in the 50- to 60-degree range. They also work as an early spring crop in areas where the ground isn't frozen so that you can plant early; however, they are subject to early warm spells that take away from the sweetness compared to those planted in fall.
Rutabagas can grow in ordinary soil, but you'll get a bigger and better harvest when you work a layer of compost or aged compost-enriched Miracle-Gro® Performance Organics® All Purpose In-Ground Soil into the existing soil to add nutrition, increase its ability to hold water, and allow air to circulate. (Another option is to plant rutabagas in large containers filled with Miracle-Gro® Performance Organics® All Purpose Container Mix, which is also enriched with compost.) Poor soil yields roots with a woody texture. Ideal soil pH is 5.5 to 7.0; add lime to acid soil. Prior to setting out your Bonnie Plants, remove any large rocks that might interfere with root growth. Space plants 12 to 18 inches apart.
A steady source of nutrition will work hand-in-hand with great soil to produce an impressive rutabaga crop. Feed plants with a continuous-release fertilizer like Miracle-Gro® Performance Organics® Edibles Plant Nutrition Granules. which will provide plants with all the food they need for strong growth. Plus, it feeds beneficial soil microbes that help plants absorb all those nutrients.
Rutabagas need consistent moisture during the growing season. An old rutabaga-growing adage says, "If in doubt, water." Spotty watering that yields alternating wet and dry soil can cause roots to split. This is where a soaker hose or drip irrigation is invaluable to keep the soil moist but not soggy.
Troubleshooting
A variety of insects—such as slugs, aphids, cutworms, looper caterpillars, and flea beetles—like rutabaga foliage. Growing plants under floating row covers for the first few weeks can eliminate most pest problems. Some gardeners plant nasturtiums throughout the rutabaga patch as a trap crop for aphids.
Clubroot is a disease that typically occurs on poorly drained, acid soils, and can linger in the soil for up to 20 years. It produces distorted roots, wilting, stunted growth, and ruined crops. Don't plant rutabagas in beds known to have been afflicted by clubroot in the past.
Harvest and Storage
Although grown primarily for their roots, the leaves of rutabaga are also edible, adding zest to salads. Pick younger leaves, never removing more than a few leaves per root.
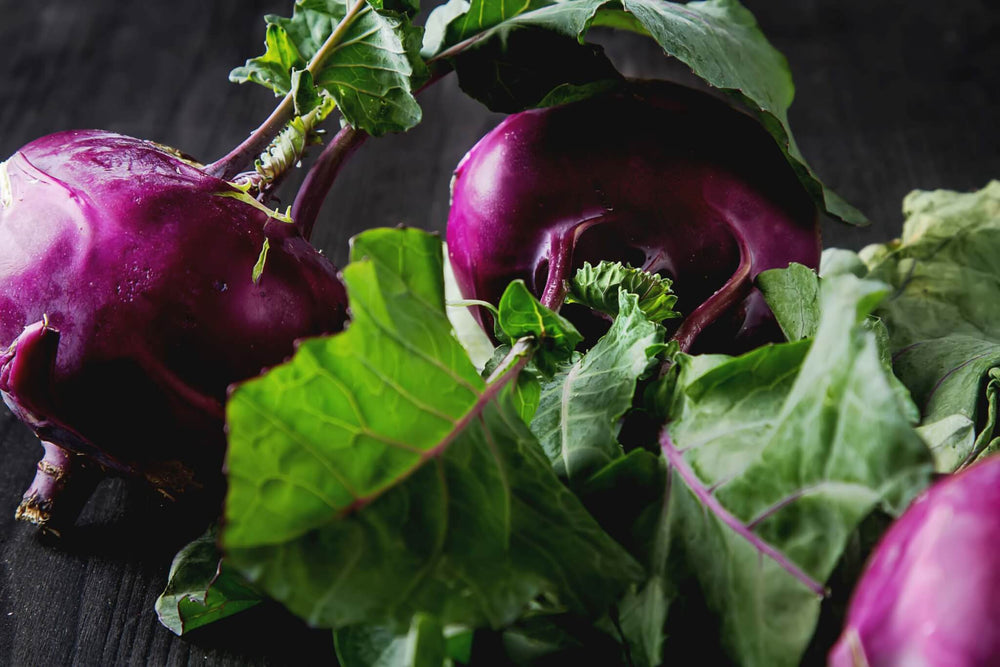
Begin harvesting rutabaga roots when they're 3 to 5 inches in diameter, about the size of a grapefruit. Early, small roots offer succulent, tender flavor; frost sweetens maturing roots. Harvest roots as you need them, leaving the rest of the crop in the ground. To harvest, hand-pull or carefully dig roots. In coldest zones, prolong the harvest by snipping leaves back to a few inches and heavily mulching planting beds with straw. Continue to harvest as needed until soil threatens to freeze, at which point the rutabagas must either be picked or mulched (see below).
Rutabagas store well for months, staying fresh as long as they're held in humid conditions. After digging, prepare roots for storage by cutting tops to an inch above roots. Place in a cold, moist root cellar held as closely to 32 degrees as possible. To store in the refrigerator, place roots in vegetable storage bags and tuck them in the crisper. For large harvests, store rutabagas in moist peat moss, sand, or sawdust in a cool shed or garage—some place they won't freeze. Another way to prolong fresh storage is to dip roots in warm, melted paraffin. After coating in wax, store in a cool place.
Some gardeners store roots in place through winter by leaving them in the ground and covering with mulch to protect freezing.


FAQs
Are the leaves of the rutabaga plant edible?
Yes, when harvested at a tender stage, the leaves are good for salads, or for boiling like turnip greens.
Do rutabagas store like potatoes?
Rutabagas can be stored for several months if kept cool (about 40 degrees F) and dry. You can also leave them in the ground over winter if you mulch heavily and pull back the mulch to dig them through the winter.


 Herbs
Herbs
 Vegetables
 Fruit
Fruit
 Flowers
 Succulents


