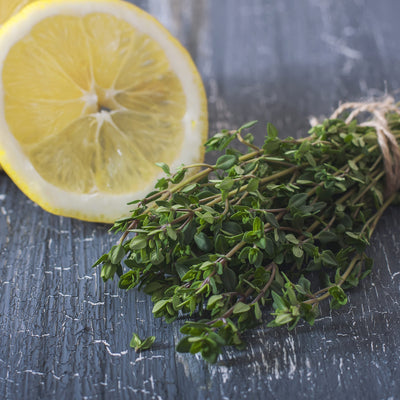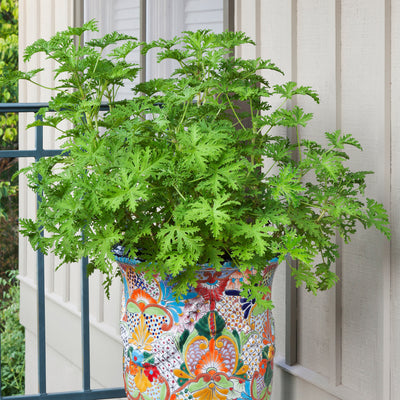


 Herbs
Herbs
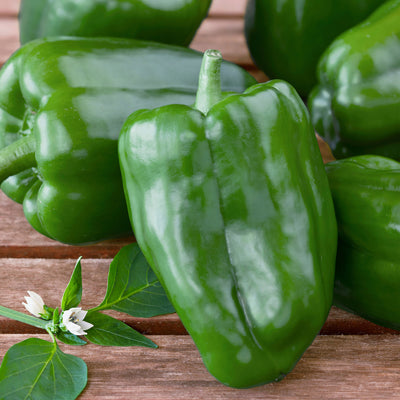
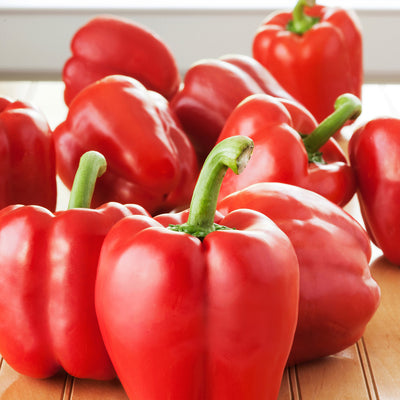
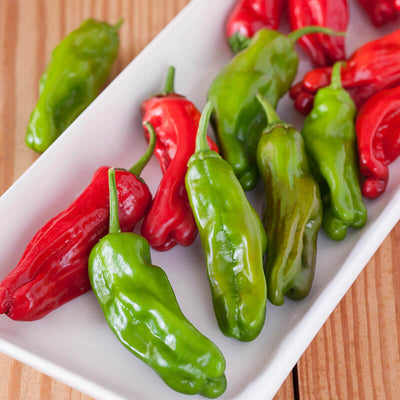
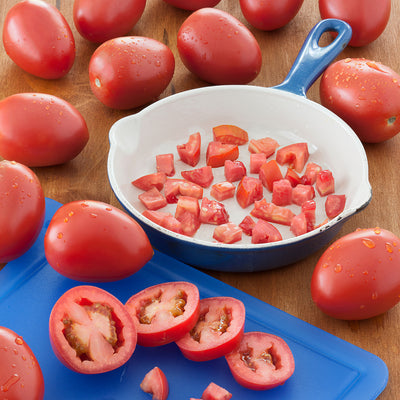
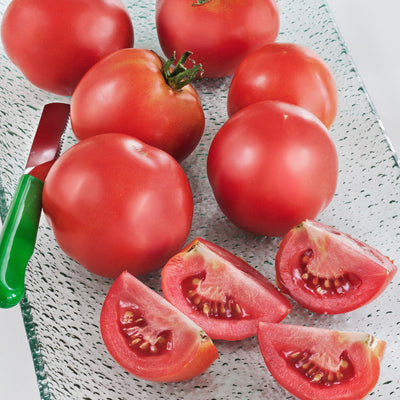
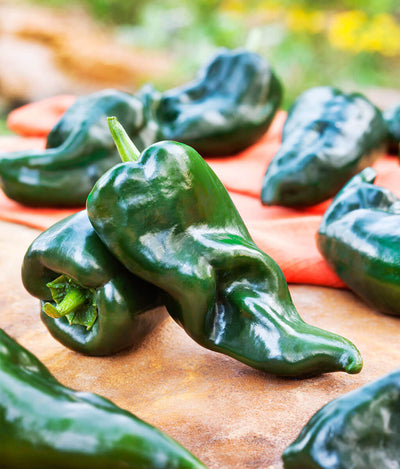
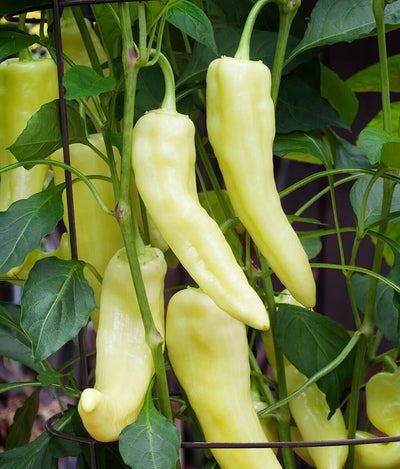
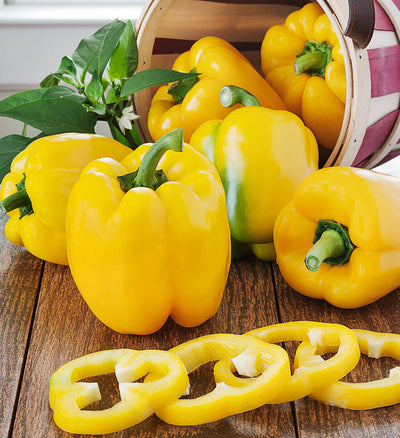
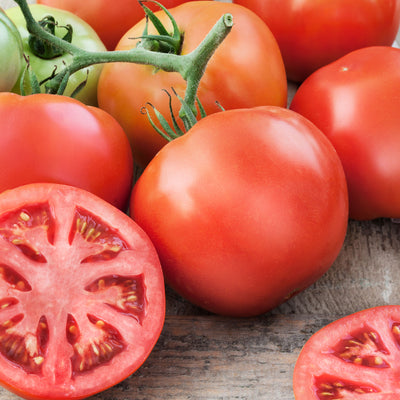
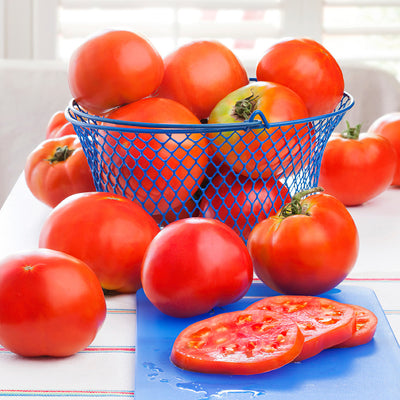
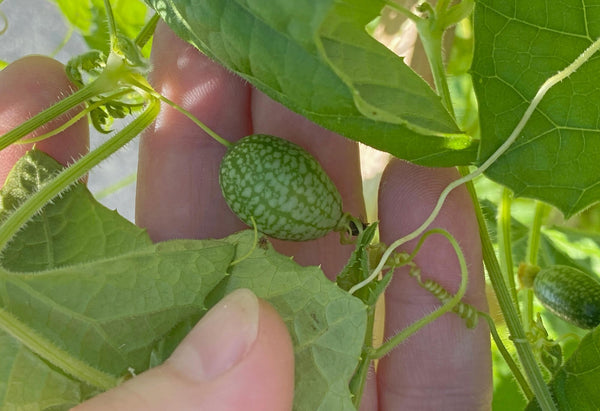
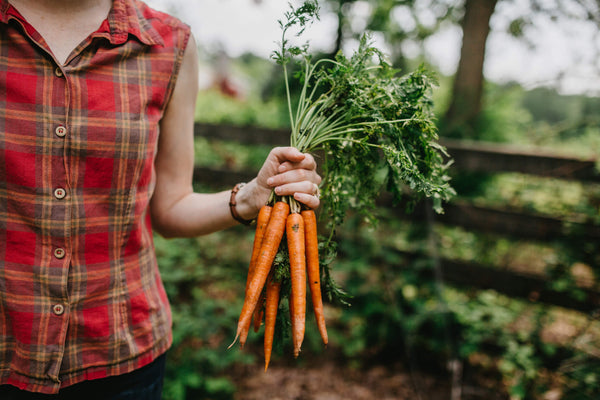
 Vegetables
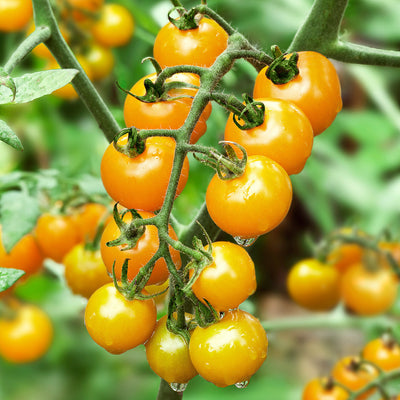
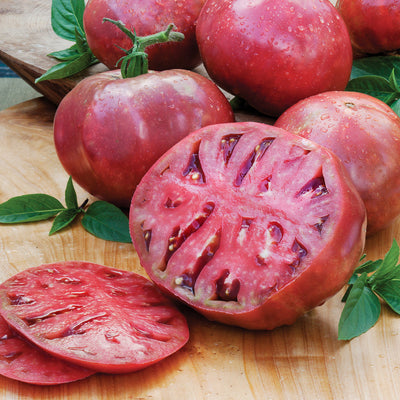
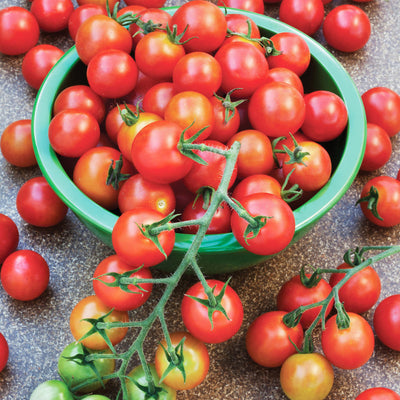
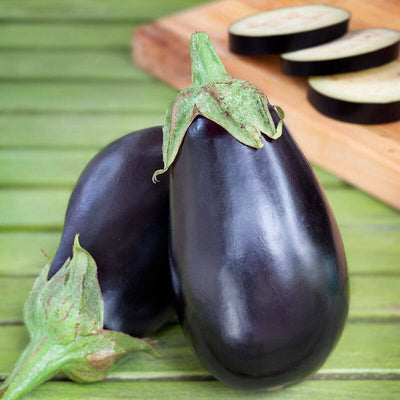
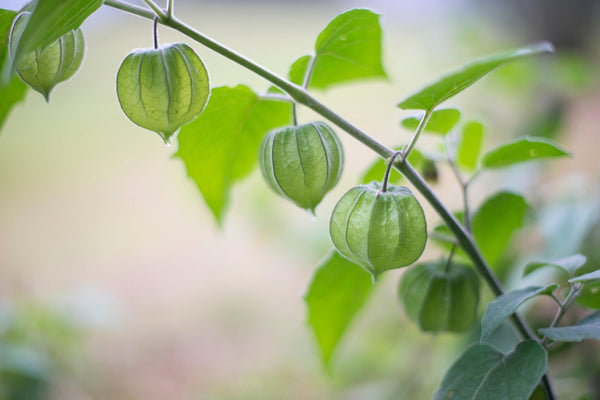
 Fruit
Fruit
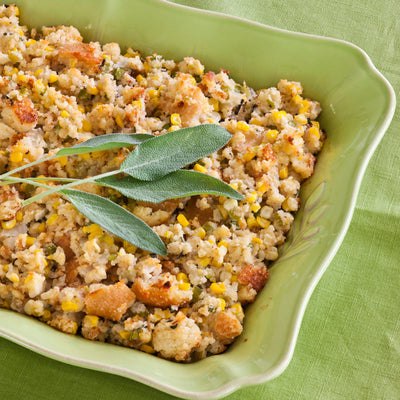
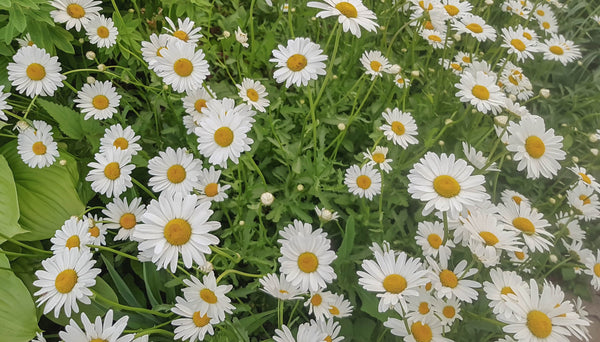
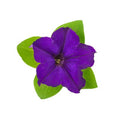 Flowers
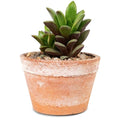 Succulents


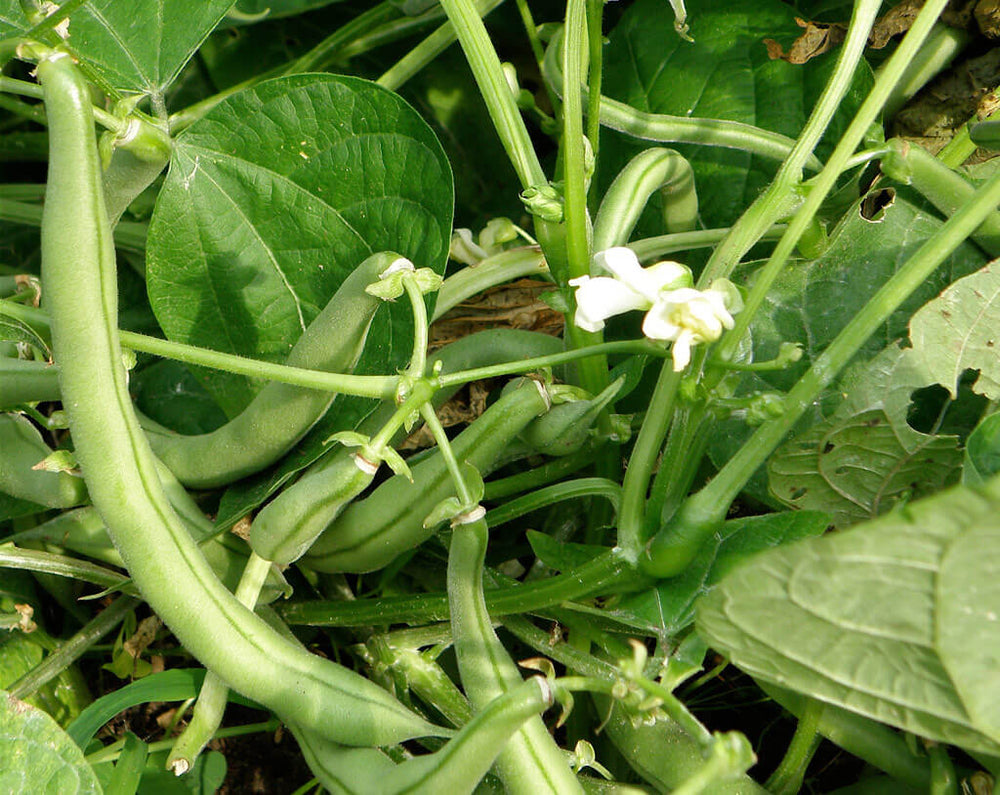
Whether you are planting your first vegetable garden or have years of experience behind you, growing snap beans should be at the top of your garden to-do list. Dependable and easy to care for, snap beans are also among the most productive veggies you can grow. Snap beans mature quickly, too, and almost everyone – including kids – loves fresh snap beans.
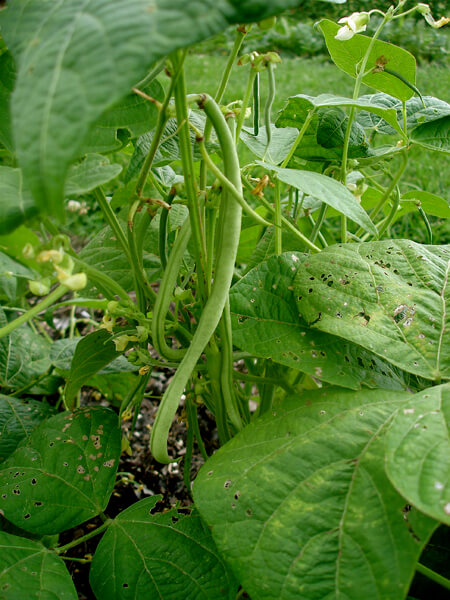
Are all snap beans alike? Not at all! Snap beans come in a huge range of sizes and colors because any immature bean with pods that taste good when "snapped" into pieces is a snap bean. Snap beans vary in growth habit, too. Pole-type beans such as asparagus bean need a sturdy tall trellis to hold the plants. Bush-type beans such as Blue Lake need less up-front set-up and are fast and easy to pick. They are good for spaces where you don't have the height for a bean trellis.
Quick Guide to Growing Snap Beans
- Plant snap beans in spring after the last frost and once the soil is warm.
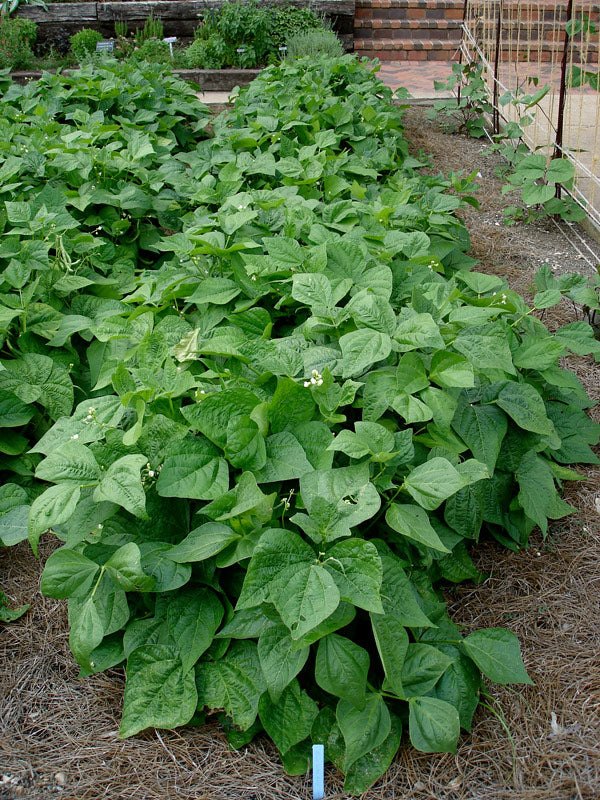
- Space bean plants 8 inches apart in a warm, sunny spot in your garden that has fertile, well-drained soil. For the highest production, arrange them in double rows.
- Before planting, improve native soil by mixing in several inches of compost or other rich organic matter.
- Water in gently and keep soil consistently moist throughout the growing season by watering when the top inch of soil becomes dry.
- For best results, feed snap beans regularly with a water-soluble plant food.
- Add a 3-inch layer of mulch to keep pods clean, retain soil moisture, and prevent weeds.
- Take steps to prevent cutworms, slugs, and snails.
- Harvest beans every other day once they are large enough to eat.
Soil, Planting, and Care
Snap beans are easy to grow in most warm, well-drained soil, but they must have warmth. Start with strong young bean plants from Bonnie Plants®, the company that has been helping home gardeners grow successfully for over a century. Wait until after your last frost has passed to set out the plants, then space them about 8 inches apart. A double row, in which 2 rows of plants are grown with 12 inches between the rows, will produce the most beans per square foot. For a steady harvest all summer, set out a second set of plants 3 to 4 weeks after your first planting.
Before setting out the plants, though, mix several inches of compost or aged compost-enriched Miracle-Gro® Performance Organics®All Purpose In-Ground Soil into the soil to add nutrition and improve the soil texture. You can also fertilize snap bean plants when initially watering the plants, using a water-soluble plant food like Miracle-Gro® Performance Organics® Edibles Plant Nutrition. When given a little starter fertilizer and biologically active compost, beans usually need no further feeding. By teaming up with bacteria in the soil, beans create their own nitrogen – the most important nutrient plants require if they are to make strong new growth.
Keep beans weeded, and mulch over the spaces between plants to conserve moisture and reduce problems with weeds. Mulch also helps keep the pods clean, which is a terrific convenience with snap beans.
Troubleshooting
New garden beds made in areas that were previously covered with grass often host a hidden danger for snap beans: cutworms. These earth-colored caterpillars are active at night, and often kill seedlings by girdling their main stems, making them look like little felled trees. The easiest way to prevent cutworm damage is to encircle each plant with a rigid "collar" as soon as it is transplanted. To make cutworm collars, cut an 8- to 10-ounce plastic cup or similar size container into 3-inch-tall rings. Pop them around the plants, making sure you push them into the soil about an inch deep. Another easy way to prevent cutworm damage is to use small strips of aluminum foil to sheathe the base of each stem. After snap beans have been growing in your garden for a couple of weeks, their stems become so tough that cutworms can no longer damage them. Slugs and snails often make holes in bean leaves, and Japanese beetles like to eat leaves, too. Slugs are easily trapped in shallow containers filled with beer or a mixture of sugar water and yeast, or you can treat the area with a slug bait approved for food gardens in order to bring serious infestations under control. Products that use iron phosphate as their active ingredient are considered organic. Use row covers to protect plants from Japanese beetles.
Snap bean pods that dangle to the ground can rot, but mulch helps prevent this.
Harvest and Storage
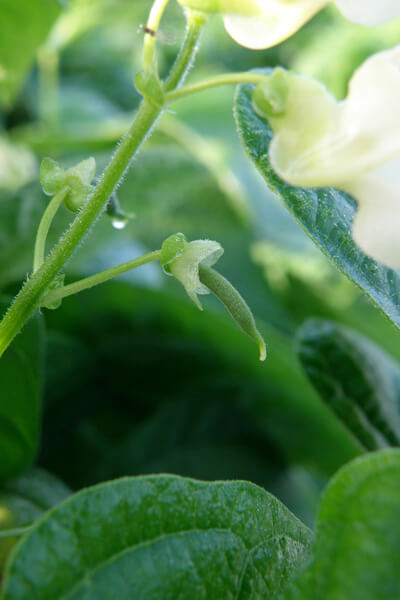
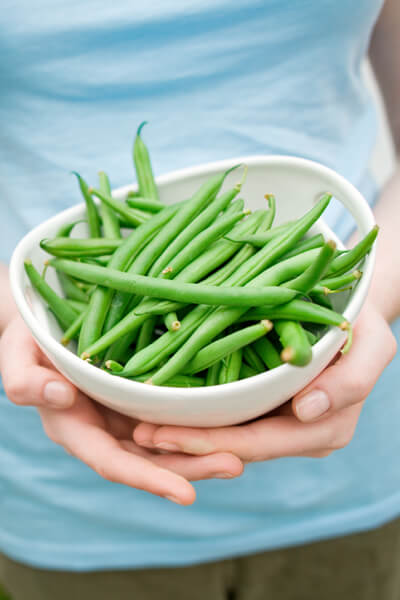
You may pick snap beans when they are very young and serve them as baby snap beans, or you can wait until they reach full size for a more bountiful harvest. Use two hands to pick, because heavily-laden bean stems are easily broken. Don't yank on the pods; hold the stem in one hand and pick with the other. Pick every other day when the beans begin bearing to make sure that they produce to their full potential. Healthy bush bean plants will often rebloom and produce a second (or third) flush of beans when growing conditions are especially good. Blanching and freezing is the easiest way to preserve a bumper crop of snap beans. Blanch them in boiling water for 1 minute and then quickly cool them in ice water. This process brightens and fixes their color while preserving the crisp texture of the pods.
FAQs
My plants seem healthy but are not producing beans. Why is this?
If blossoms are lost at any time, then the fruit will not form. Blossoms drop during unusually hot and windy weather. Your plant may have suffered from such conditions.
How often should I pick beans once they have reached maturity?
Pole beans should be harvested every 2 days. Bush beans should be harvested once a week.
If my beans have grown past the mature harvesting stage, are they still edible?
Yes. Pole and bush beans may be picked and used as dry beans after the harvesting date has passed. Shell the beans and spread them in a single layer to let them dry before storing.