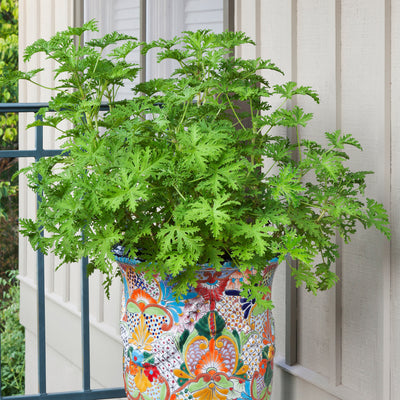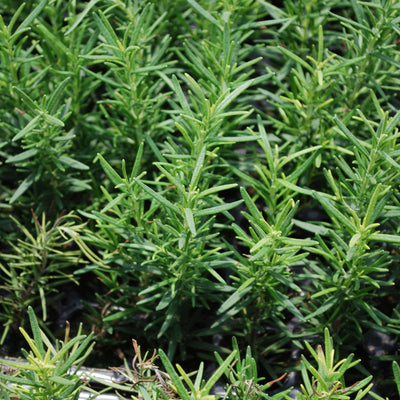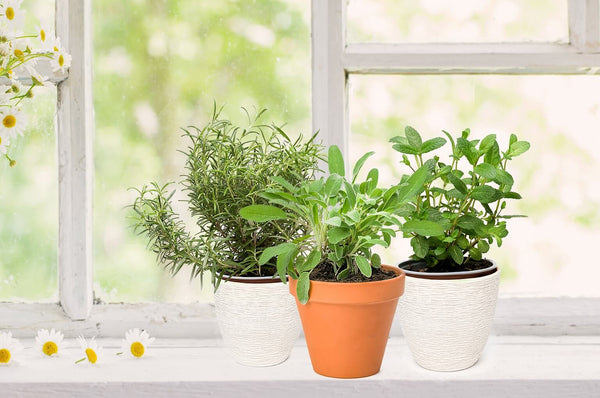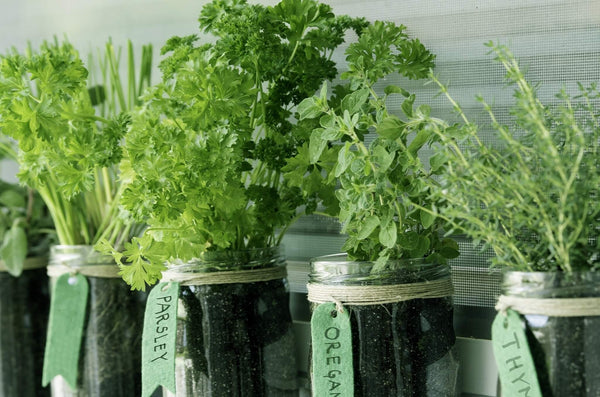

 Herbs
Herbs
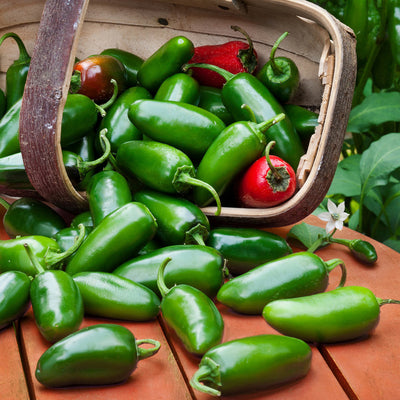
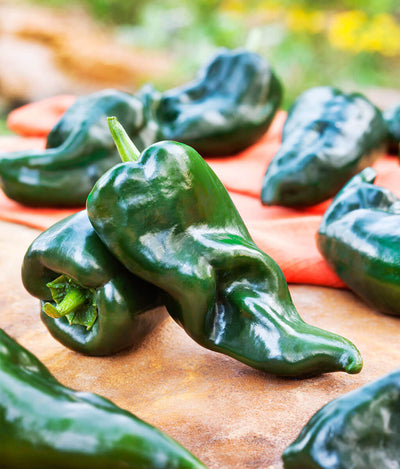
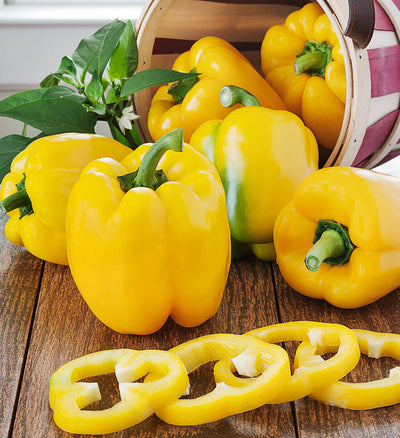
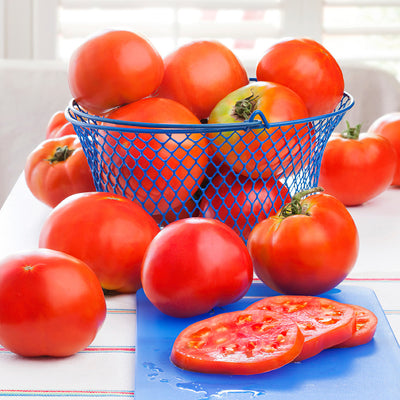
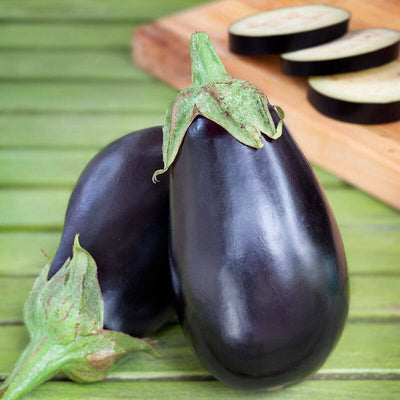
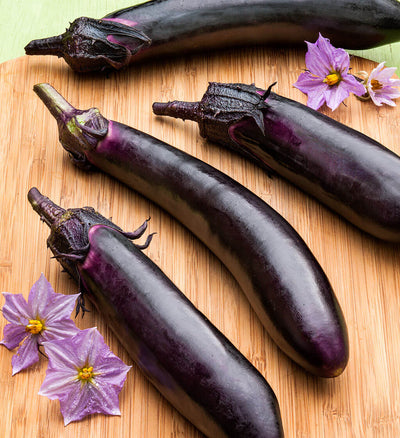
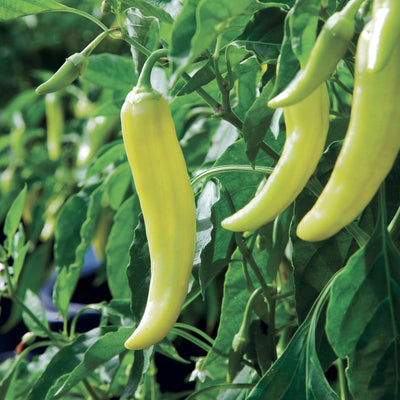
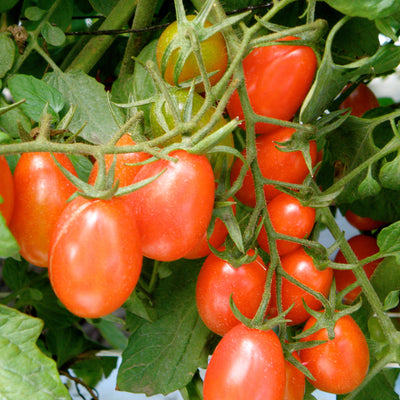
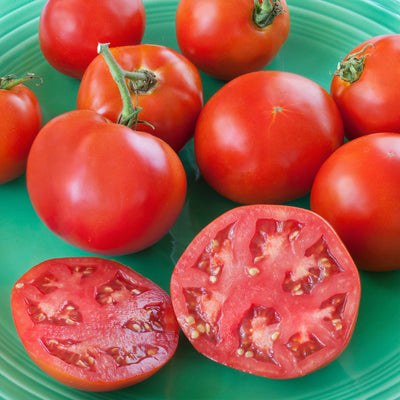
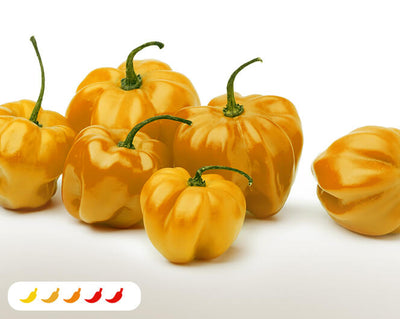
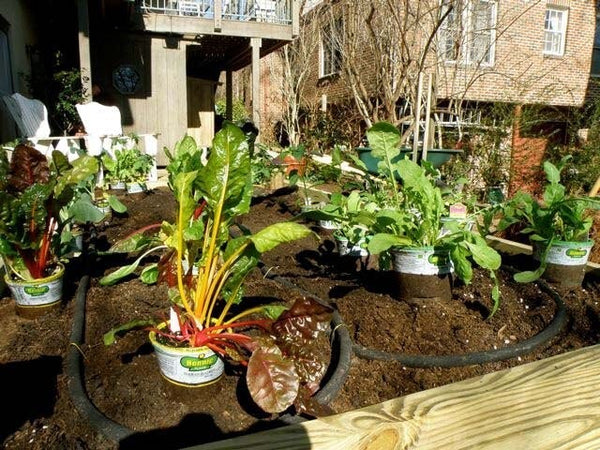
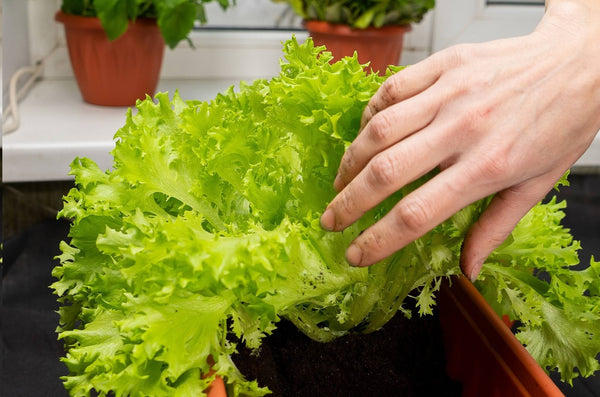
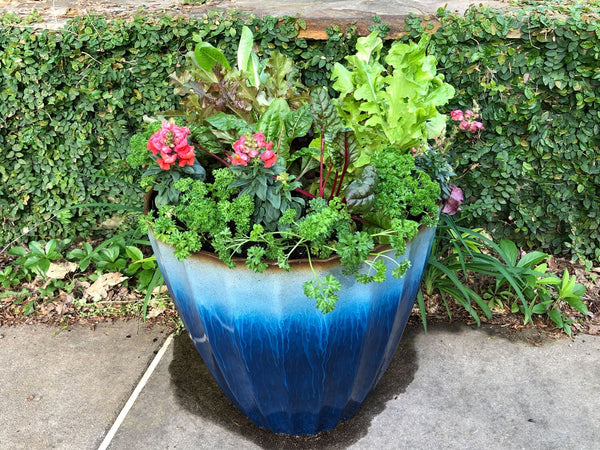
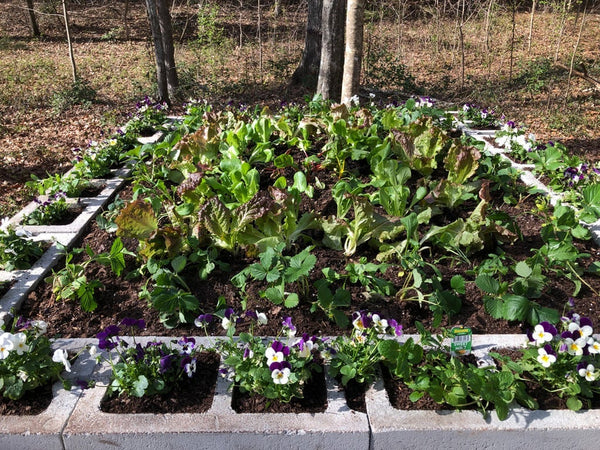
 Vegetables
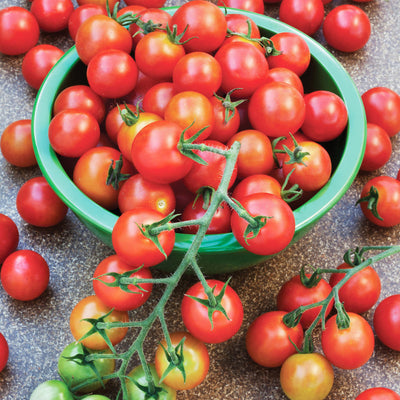
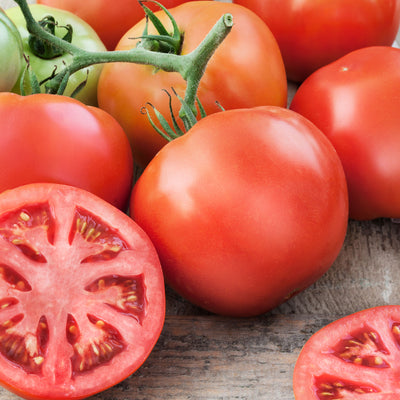
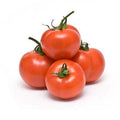
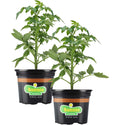
 Fruit
Fruit
 Flowers
 Succulents


Many leafy spring and fall crops are frost tolerant into the 20s, but if you're dealing with lower temperatures, you need to give them little extra warmth under the protection of a row cover. Depending on their thickness, these blankets give 4 to 8 degrees of extra protection on freezing nights, which can make a real difference when you're planting early in the year or trying to extend the growing season.
What's more, on sunny days row covers trap heat to encourage more growth—which means more harvest of lettuce, spinach, kale, and other hardy crops. But that's not all: As the weather warms, a row cover can also protect tomatoes, peppers, and other summer vegetables from unexpected late frosts.
Although frost blankets and floating row covers can simply drape on top of garden plants, they are most effective when supported by PVC hoops. As part of a row cover hoop house, the sides of the fabric can be anchored to the soil to trap air in the resulting tunnel, creating an insulating air space.
Make your own row-cover hoop house using a few simple materials
Lay out your design to suit your garden. Remember that while the PVC pipe is flexible, it doesn't flex a lot, so your frame will need to be fairly short and wide. Farm-style spun-bond row cover material is available at farm and homesteading supply stores, and frost blankets can be found at most home improvement stores. Both are available in many lengths and widths and can be cut to size. If don't find the exact size you need, you can stitch pieces together. We used 1/2″ rebar and 1″ PVC pipe, but you can use other sizes as long as the PVC pipe has a slightly larger diameter than the rebar.
Materials
- Flexible PVC pipe
- Rebar stakes
- Spun-bond row cover material or frost blankets
- Twist ties or twine
- Bricks