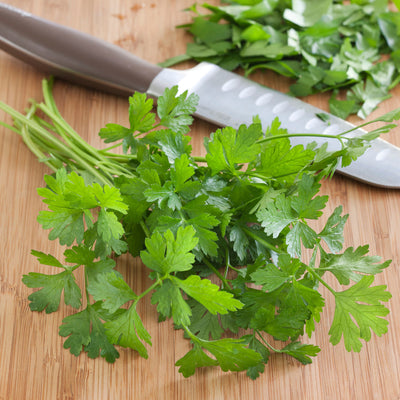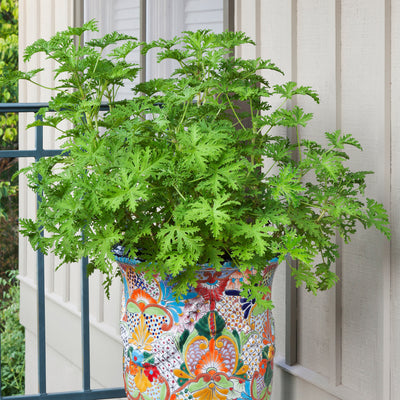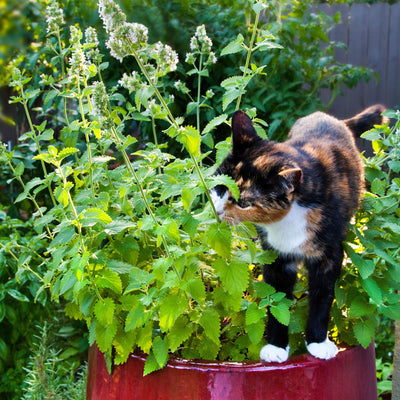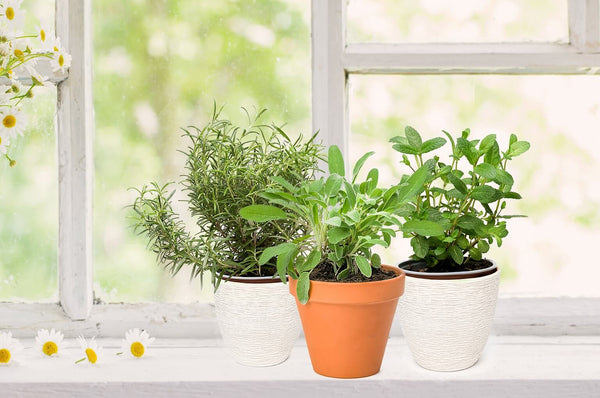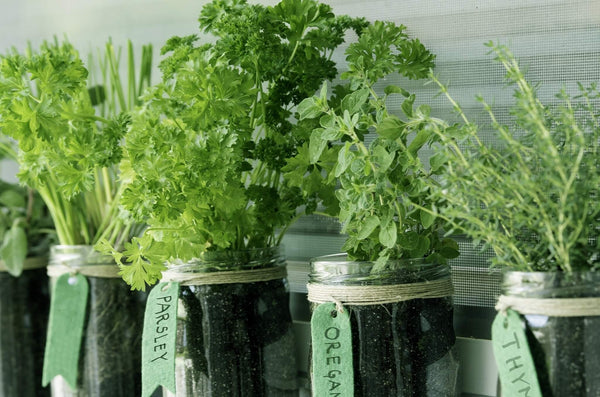


 Herbs
Herbs
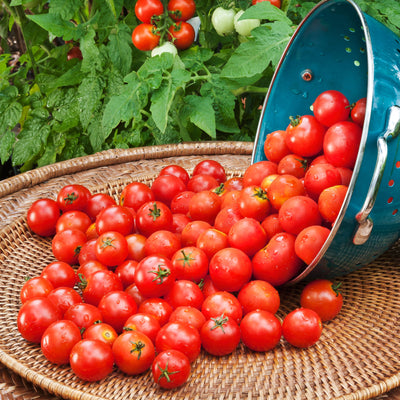
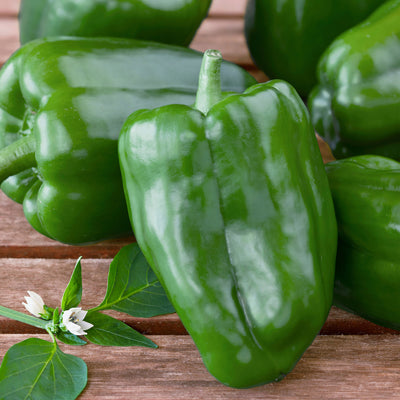
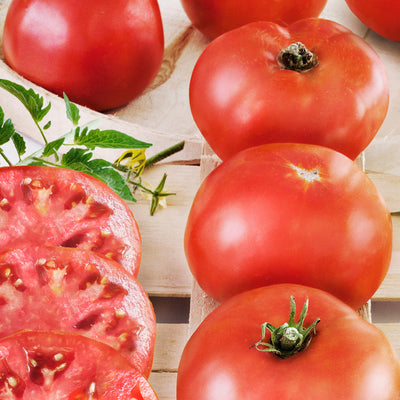
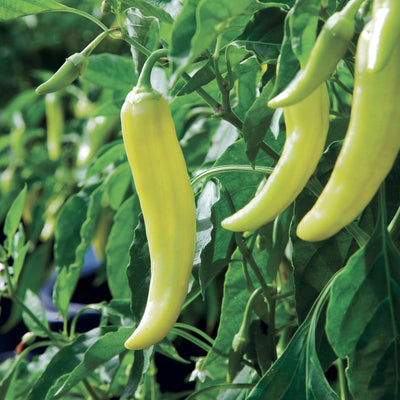
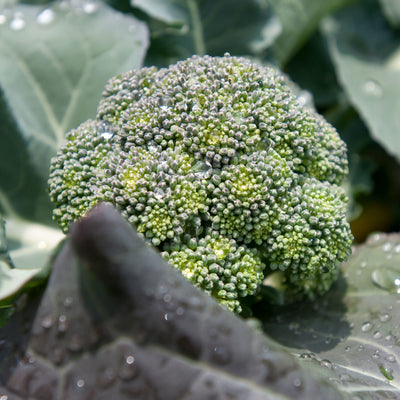
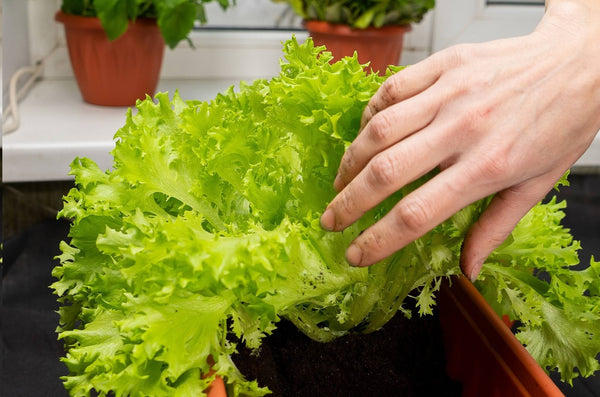
 Vegetables
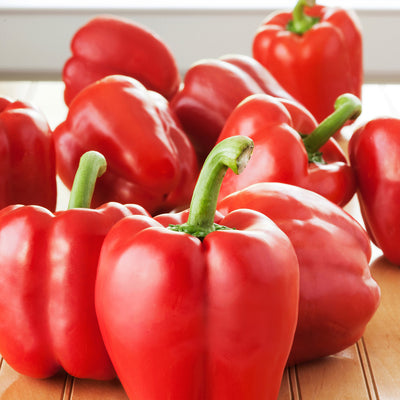
 Fruit
Fruit
 Flowers
 Succulents


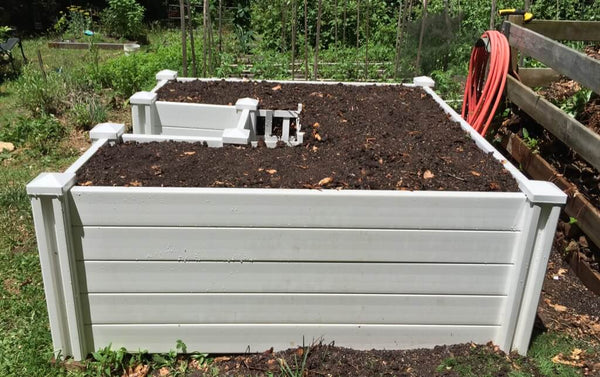
This easy 4- x 8-foot raised bed for vegetables and herbs has just enough style to fit most anywhere in a garden design, even by your patio. Using 2×6 lumber, you can make it as shallow or deep as you wish—1, 2, or 3 boards high. Ours is 3 boards high (not quite 18 inches). Two people built it in less than 4 hours.
To build our easy Raised Bed, download our printable PDF guide.
Tips
- It is very important to buy boards that are straight. Reject any that are bent or warped.
- Because boards are not always exactly 8 feet, it is a good idea to measure them all first and trim them, if needed, to be sure that they are all exactly 8 feet.
- If your ground is a bit uneven because of grass or because you've dug up the turf, you can level it with some builders' sand.
- If you want the raised bed to be parallel to an existing structure, measure equal distances from the existing structure.
- You may line the box it with heavy-duty plastic sheeting to put a barrier between the soil and the boards.
- If you have difficulty getting the screws to go into the wood, predrill the holes.
- Take the time to moisten the soil thoroughly before planting. Turn a sprinkler on the bed for a couple of hours. As the soil settles, you may find that you need to add a little more.
- It is not necessary to mulch if the weather is still really cool in early spring. The soil will warm up faster without the mulch. Apply it later, though, to keep down weeds and protect the soil from drying and heat as the weather gets warm.
- The main expense of this project is the soil. If you do a little digging, you might be able to find an inexpensive source of soil such as municipal compost.
- Instead of using wire pins to tack down the soaker hose, you can weigh it down with stone or bricks; after a while it will stay in place after you remove the weights because it takes up the shape that you lay it out in.
- Keep plants well fed throughout the growing season by fertilizing them with a continuous-release plant food such as Miracle-Gro® Shake ‘n Feed® Tomato, Fruit & Vegetable Plant Food.
List of Materials
- 9 8-foot 2×6 boards
- 2 6-foot 4×4 posts
- Measuring tape at least 8 feet long
- 1 pound of agricultural lime
- Paper cup
- Mitre saw
- Electric drill with #2 Phillips-head bit
- Post hole digger
- Blunt-nose shovel
- Bow rake
- Level
- Square (speed, carpenter's, or other)
- 2 12-inch bar clamps
- Mini sledge hammer
- Safety glasses
- Ear protection
- Pencil
- 1 1-pound box of 2 1/2-inch deck screws
- 40-plus cubic feet of soil*
*The exact amount will vary depending on how fluffy the soil is; we used 20 2-cubic-foot bags of purchased garden soil and 5 50-pound bags of cow manure. Another good option is to use a premium quality soil made specifically for raised beds, such as Miracle-Gro® Raised Bed Soil.