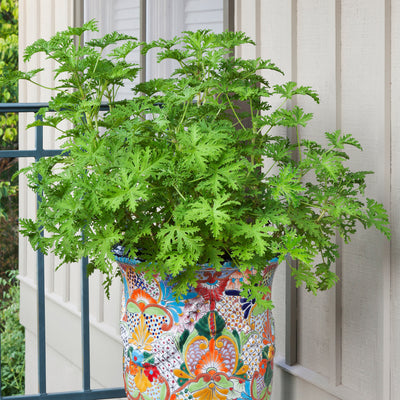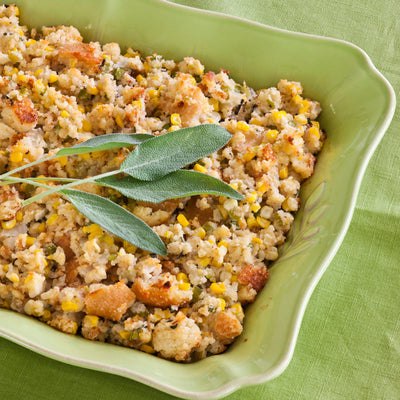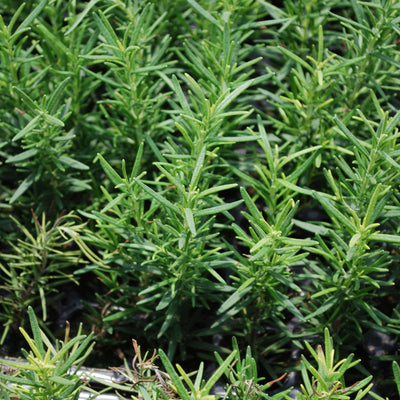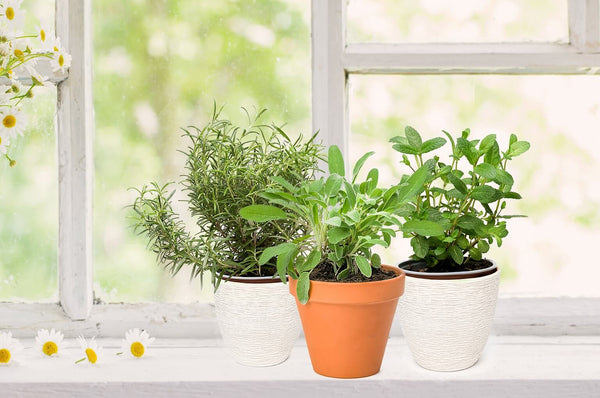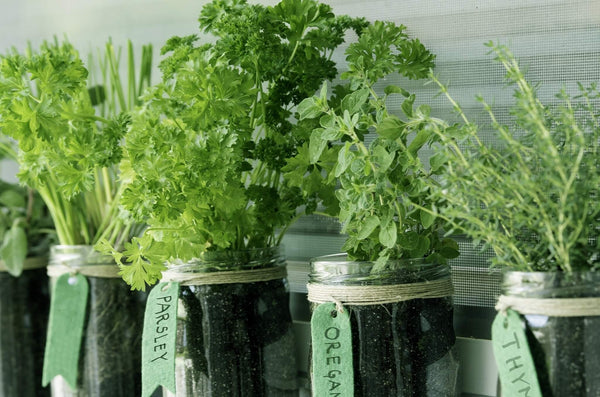

 Herbs
Herbs
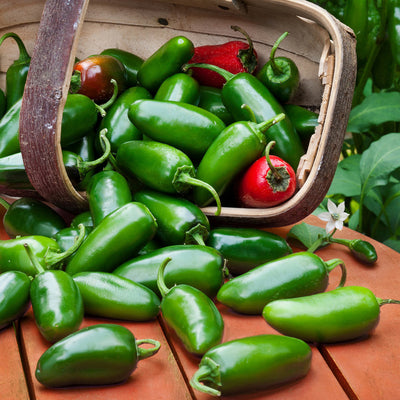
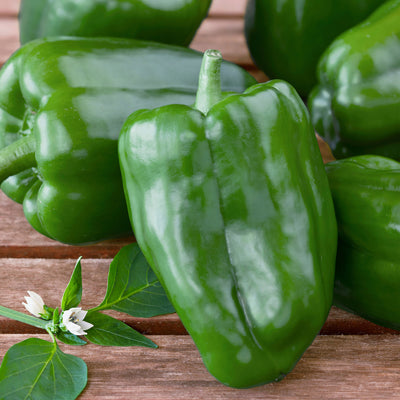
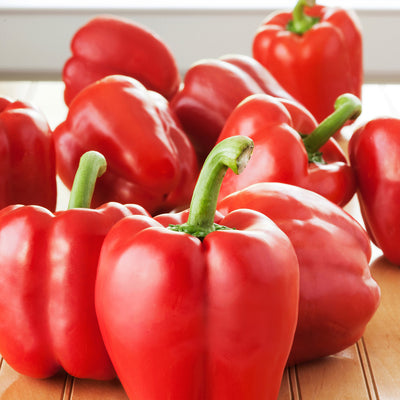
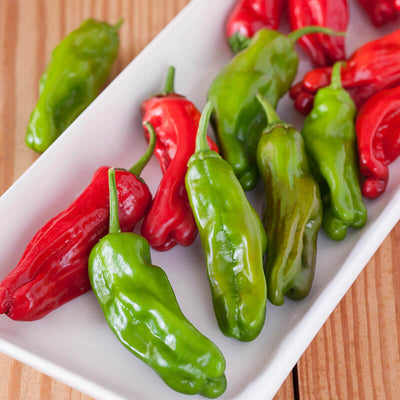
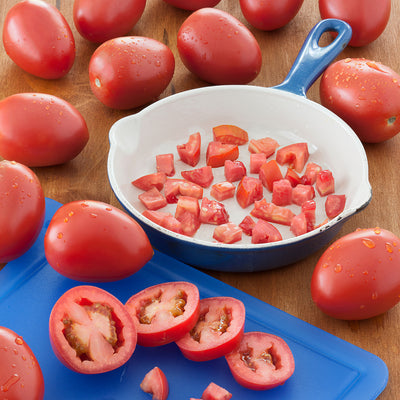
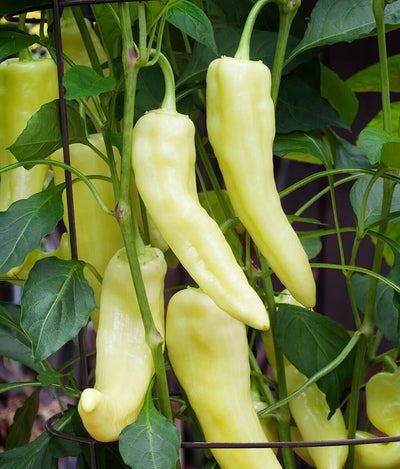
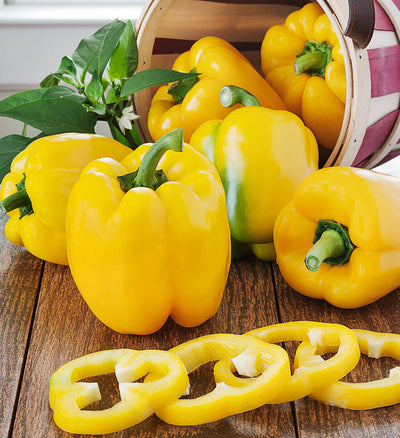
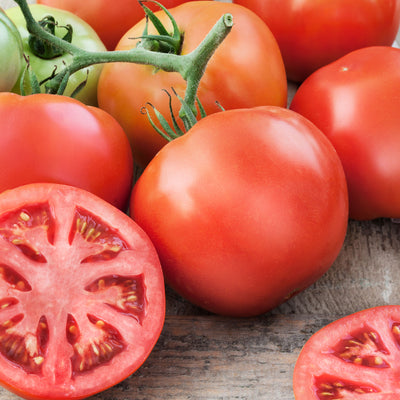
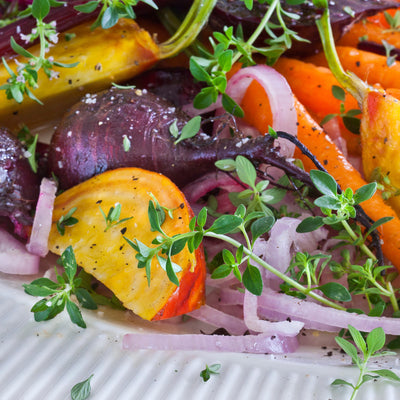
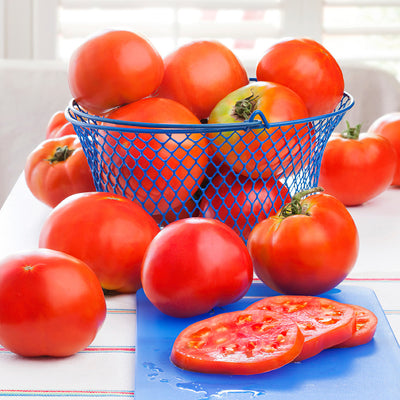
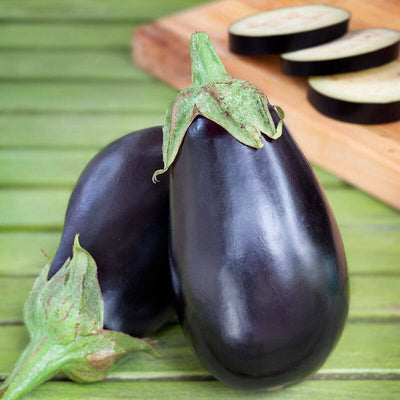
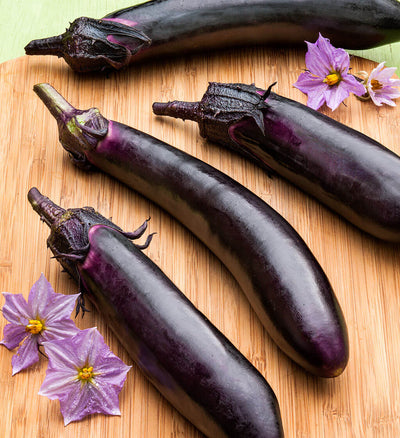
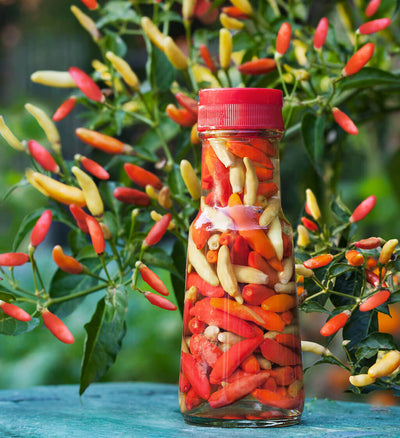
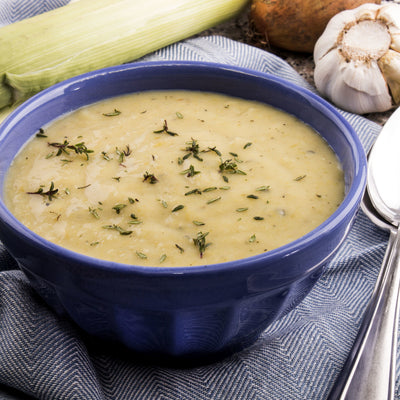
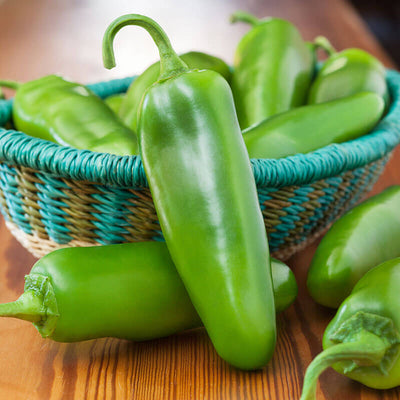
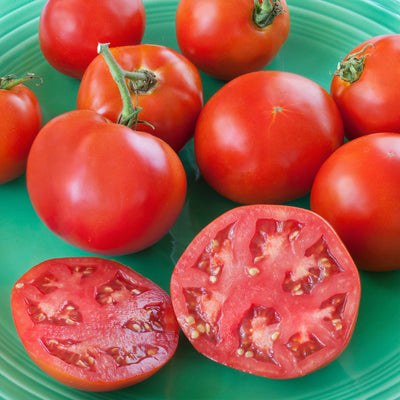
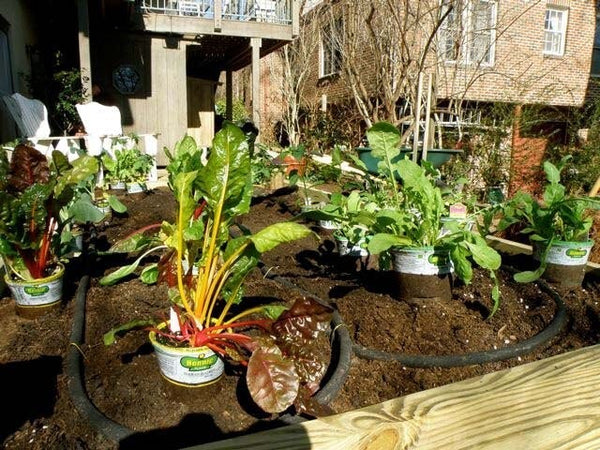
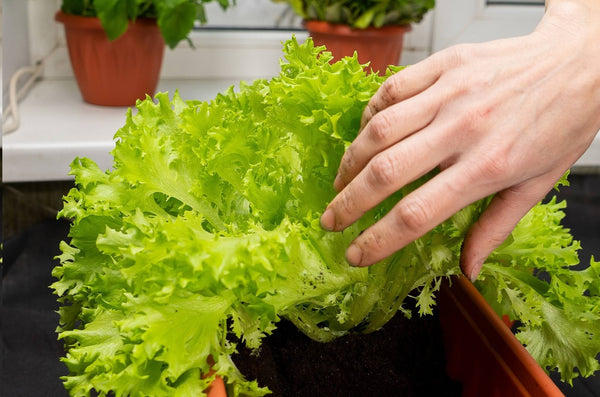
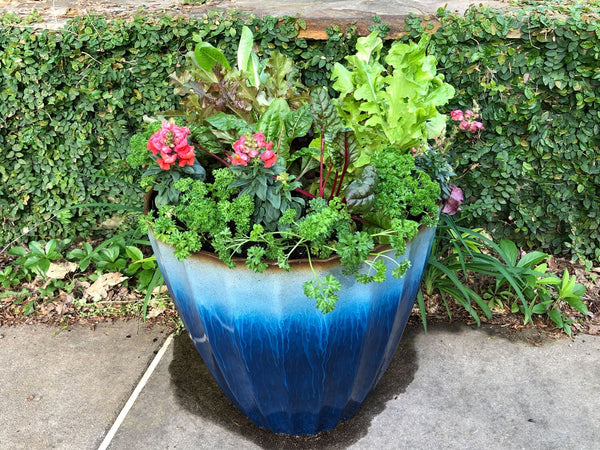
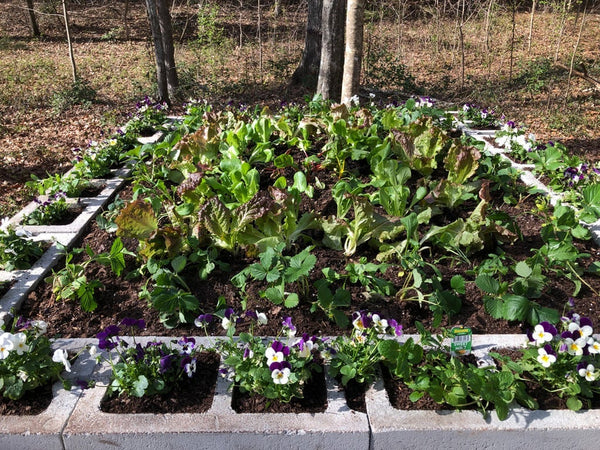
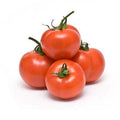
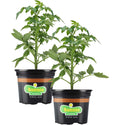
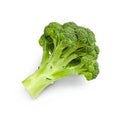 Vegetables
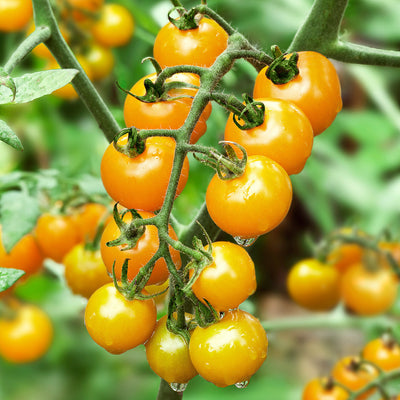
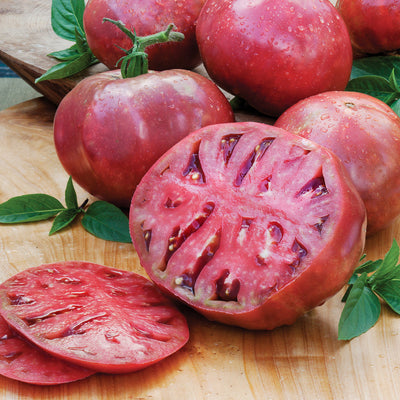
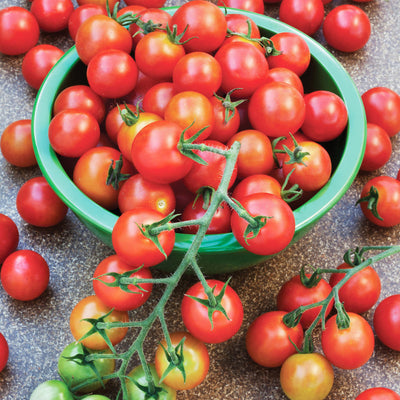
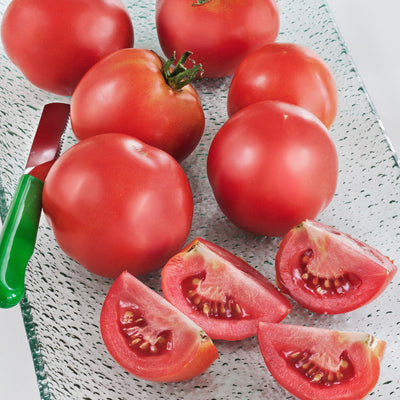
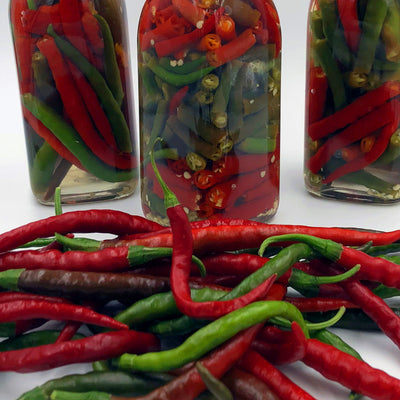
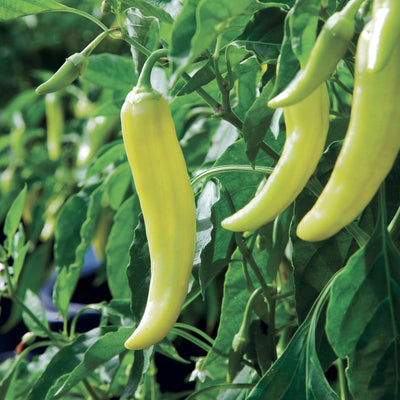
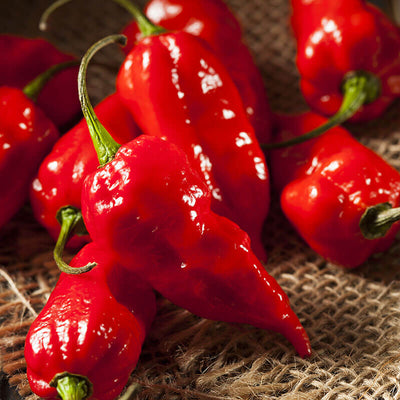
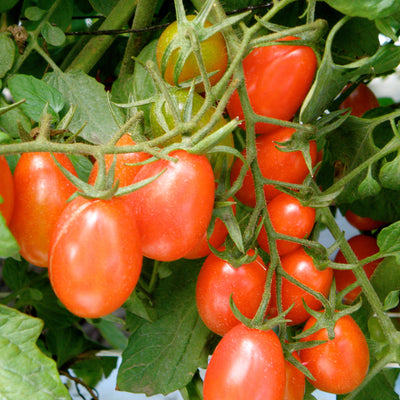
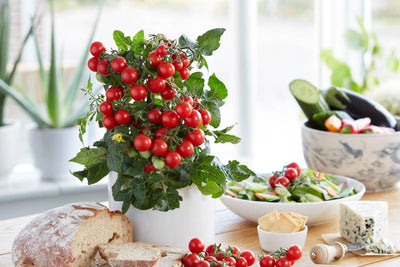
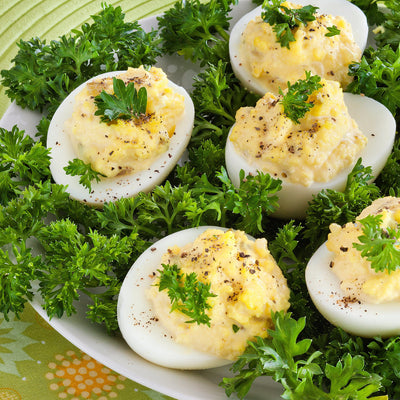
 Fruit
Fruit
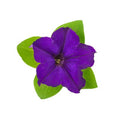 Flowers
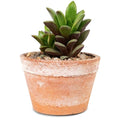 Succulents


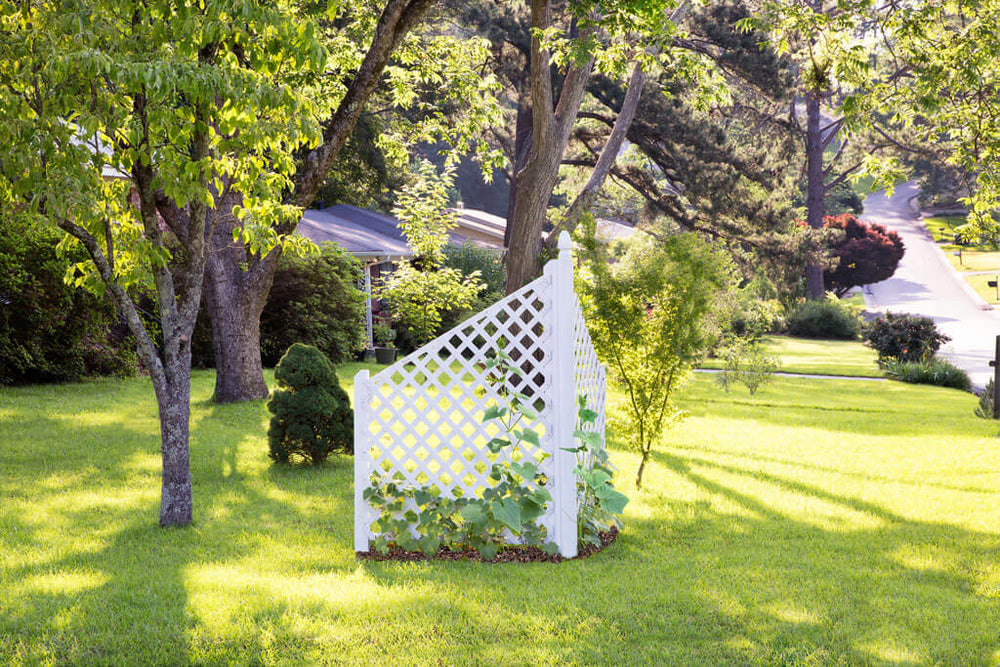
This simple corner trellis does double duty as both a sturdy support for your plants and a beautiful edible landscaping element in your yard. Use it to grow cucumbers, melons, peas, beans, or virtually any other vining plant. For best results, improve the soil around the base of the trellis before planting by mixing in Miracle-Gro® Garden Soil for Vegetables & Herbs with the existing soil. Also, feed plants with Miracle-Gro® Shake ‘n Feed® Tomato, Fruit & Vegetable Plant Food to ensure they have all the nutrition they need to thrive. Cut the lumber and lattice yourself, or have them pre-cut at your local home improvement store. Scroll down for our slideshow with instructions, watch our how-to video, or download our printable PDF guide.
Estimated Time: including site preparation, 3 hours (less if you have wood pre-cut)
Project Difficulty: Easy
Parts List (see Cutting Diagrams below)
| Part | Quantity | Size |
|---|---|---|
| Post cleats | 2 | 1½ x 1½ x 72 |
| Post | 1 | 3½ x 3½ x 78 |
| Long stiles (aka side rails) | 2 | 1½ x 3½ x 78 |
| Short stiles (aka side rails) | 2 | 1½ x 3½ x 51 |
| Upper rail cleats | 2 | 1½ x 1½ x 5 |
| Lower rail cleats | 2 | 1½ x 1½ x 5 |
| Bottom rail trim | 2 | ¾ x 1½ x 50⅜ |
| Bottom rails | 2 | 1½ x 1½ x 44⅜ |
| Top rails | 2 | 1½ x 1½ x 52⅛ |
| Lattice panels | 2 | ½ x 48 x 66** |
** to long point on one side (see Cutting Diagram for full dimensions)
Finished Dimensions
- Height: 78″ (72″ when installed in ground)
- Width: 55″
Design by Chris Hill.