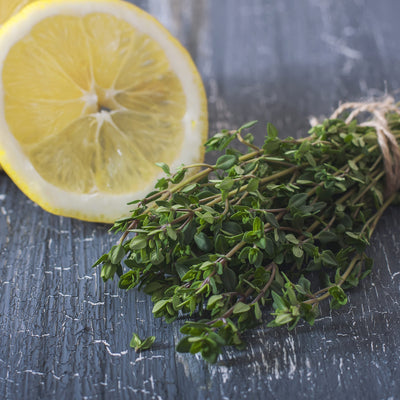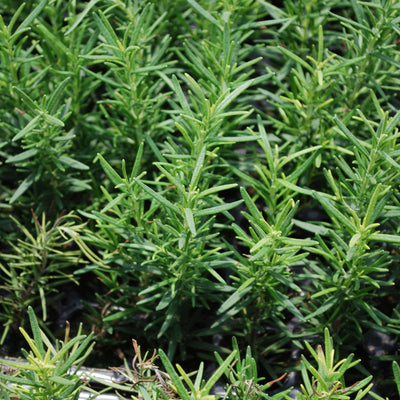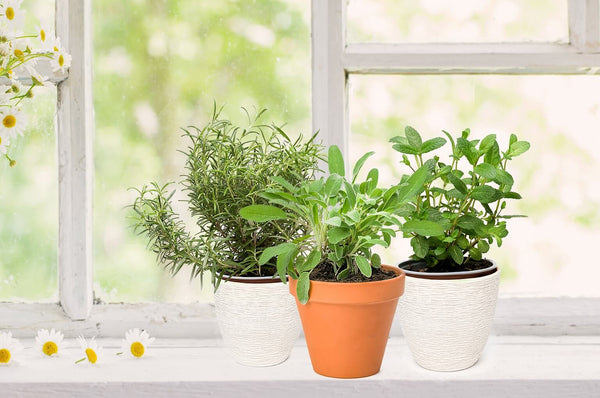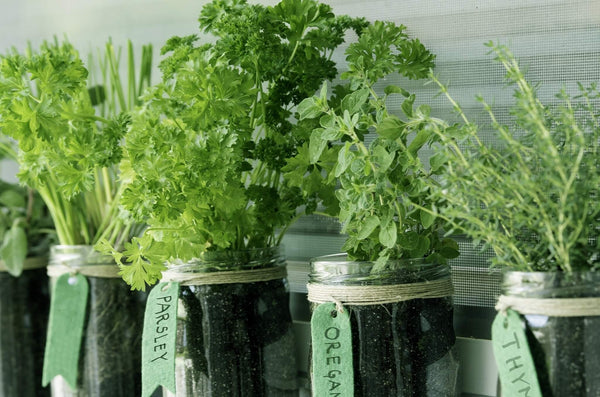

 Herbs
Herbs
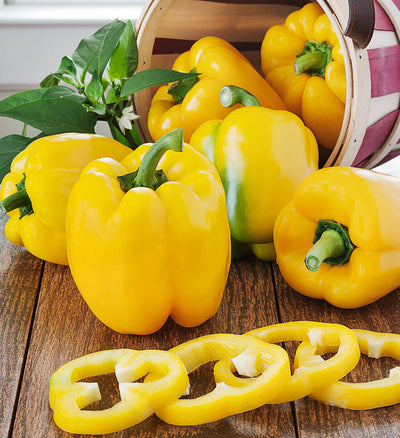
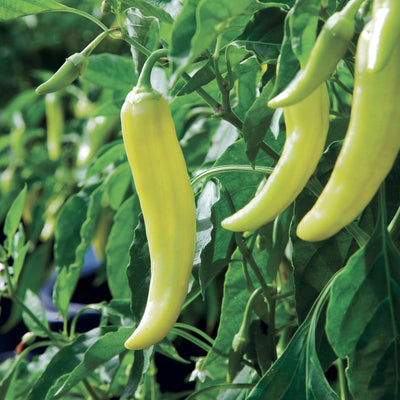
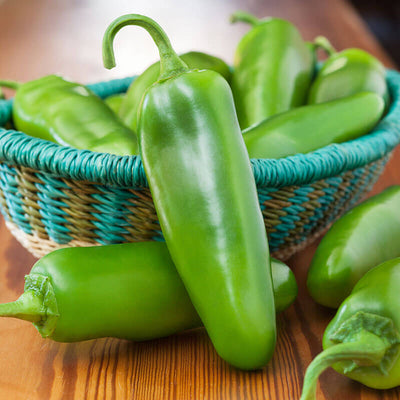
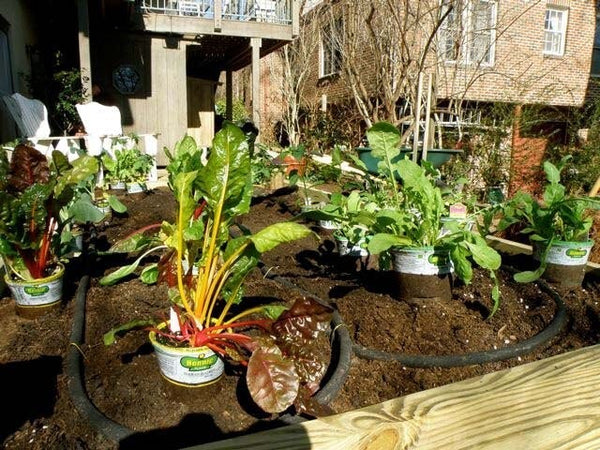
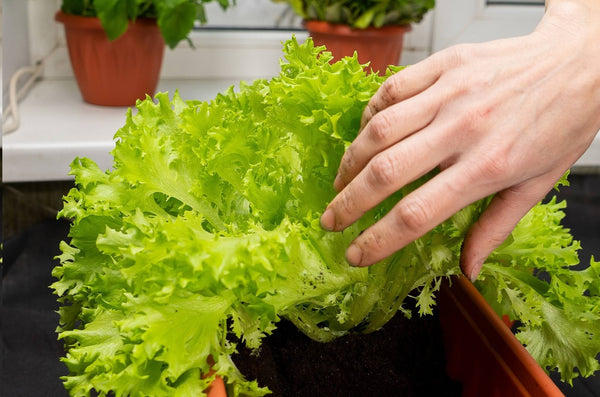
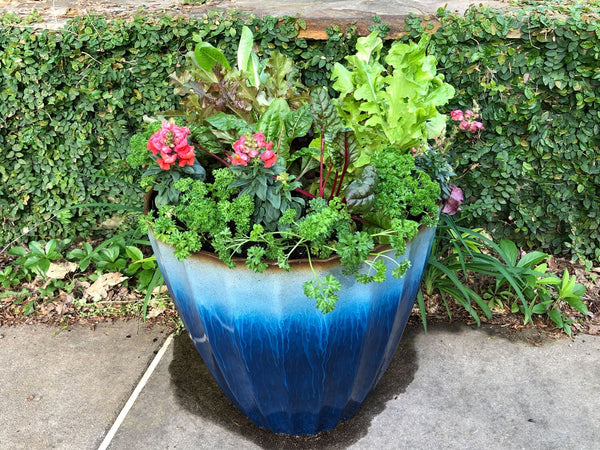
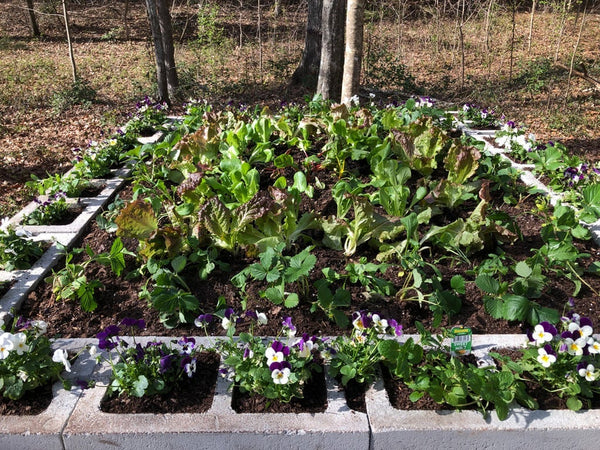
 Vegetables
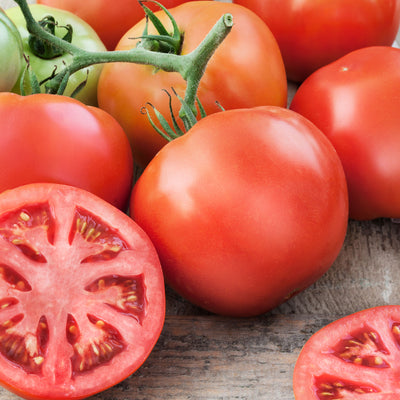
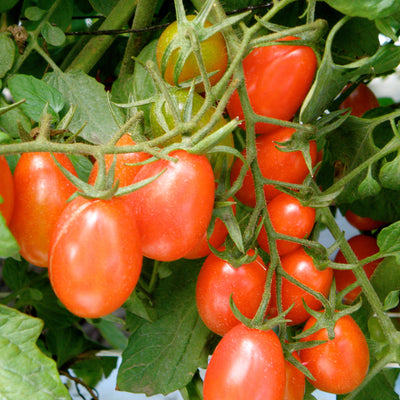
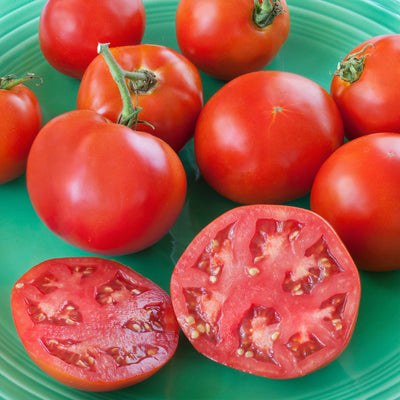
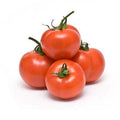
 Fruit
Fruit
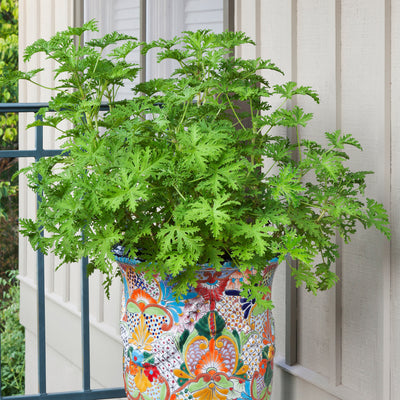
 Flowers
 Succulents


Add a touch of elegance to bales of straw used for gardening with a simple, handsome wooden base. We've added casters for easy movement, making it perfect for a deck or patio. Cut the lumber yourself if you have some woodworking experience, or make it easy by having the boards pre-cut at your local home improvement store. (You can use either treated lumber or naturally long-lasting cedar.) To assemble our bale frame, scroll down for instructions or download the PDF. Then, learn how to condition and plant the bale here.
Estimated Time: 1-2 hours (Less if you have woodpre-cut)
Project Difficulty: Easy
List of Materials
- 2 – 1 x 4 x 8 boards
- 3 – 1 x 6 x 8 boards
- 2 – 2 x 4 x 8 boards
- 12 – 2½-inch deck screws
- 40 – 1¼-inch deck screws
- 16 – 1¼-inch washer-head screws
- 4 – 2½-inch swivel casters
- Wood stain (if desired)
List of Tools:
- miter saw or circular saw*
- drill/driver
- clamps
- square
- measuring tape
* or can have lumber pre-cut at home improvement store per dimensions in Parts List
Parts List:
| Part | Quantity | Size |
|---|---|---|
| Cross Rails | 3 | 1 1/2 x 3 1/2 x 18 |
| Long Rails | 2 | 1 1/2 x 3 1/2 x 40 |
| Slats | 7 | 3/4 x 3 1/2 x 18 |
| Side Panels | 4 | 3/4 x 5 1/2 x 40 |
| Short End Panels | 2 | 3/4 x 5 1/2 x 16 1/2 |
| Long End Panels | 2 | 3/4 x 5 1/2 x 19 1/2 |
Use this slideshow for step-by-step directions
 Use the Parts List and Cutting Diagram as references for part dimensions. Cut the parts as needed for each step.


Design by Chris Hill.