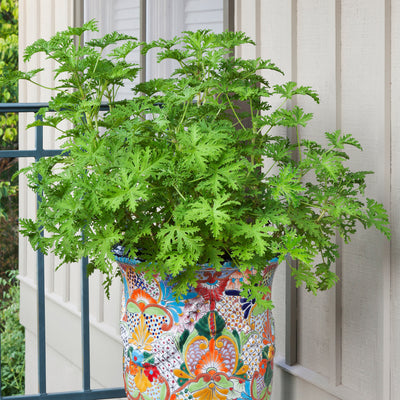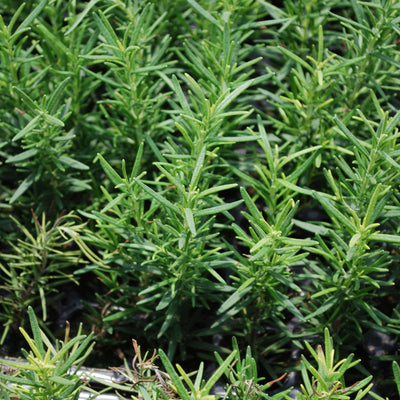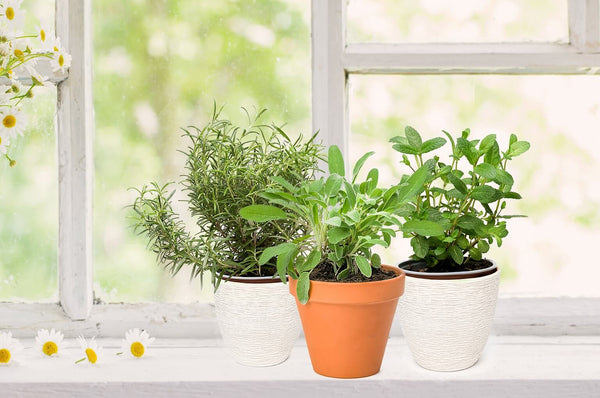


 Herbs
Herbs
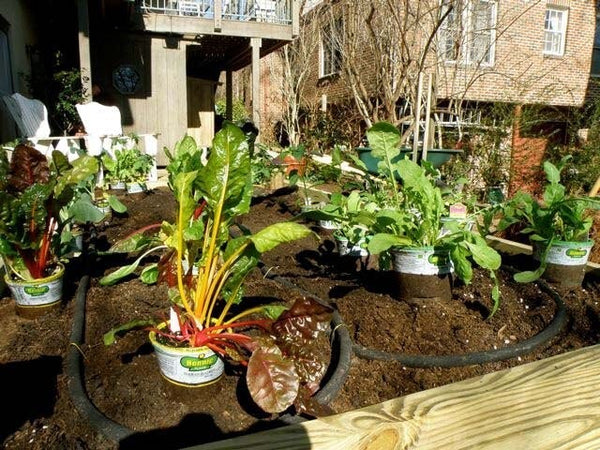
 Vegetables
 Fruit
Fruit
 Flowers
 Succulents


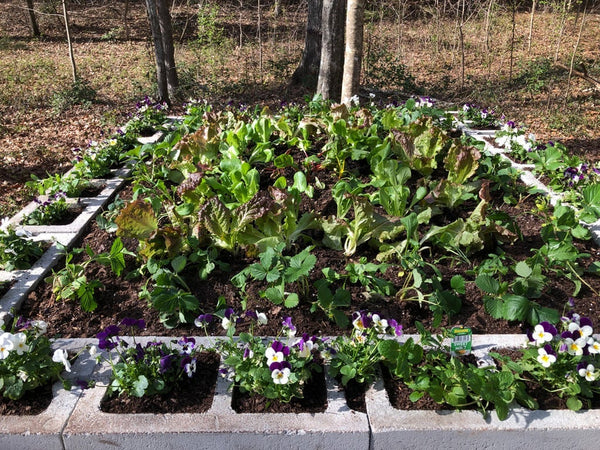
Our 8- by 24-foot raised display bed is built to last. We built it in front of our home office in Union Springs where we can watch Bonnie plants grow day in and day out. However, when we're crazy-busy in spring, the garden will almost have to take care of itself, so we mulched the bed well and set up a soaker hose on a timer to make weeding and watering automatic.
The project in a nutshell
We laid the first row of timbers for the sides, drove rebar into the ground through the base row of timbers and stacked timbers through the rebar (with holes drilled, of course) until the sides of the bed were as high as we wanted (18 inches). By cutting some timbers at varying lengths, we could offset them like Lego blocks for stability as we stacked.
Here is the process, step by step:
- We began by marking the corners of the bed with stakes and stretched a string to guide where to place the first row of timbers. We used sand to lay a foundation for the bed, but that is optional. We did this to make sure the boards would be level since the ground where we worked was grassy, lumpy, and uneven.
- Then we laid out the first row of timbers on the ground to create the footprint for the bed. Timbers were fastened together with a 4 x 6-inch flat, galvanized brace screwed in across each joint where the timbers meet. This is to provide stability and prevent warping. We checked our work with a triangle square in the corners to make sure that the bed will be square and a used a level to make sure that the timbers were indeed level.
- Then we stretched landscape fabric over the bottom of the bed to keep grass and weeds from coming up and growing out the sides. Later we pulled the edges of the fabric up to the second set up timbers to block grass and weeds from growing out the base between the timbers. We tacked the fabric to the timber to hold it in place. This is optional. We did it because we built on a grassy spot.
- Next we measured 2 feet from the end of a timber to drill the first hole for 4-foot rebar to fit through (with a ½-inch drill chuck). Then we just continued making holes spaced 2 feet apart along the length of the timber (2 rebar to every timber).
- Next we drove the rebar into through the holes several inches into the ground with a mallet. We have sandy soil, which makes it easy to drive the rebar deeply. You may have to adjust the depth, depending on your soil type.
- To prepare for the next row of timbers, we trimmed 2 feet and 4 feet off of the 8-foot timbers to yield lengths of 2, 4, and 6-feet. These allow the boards to be offset when stacked. As we added the second row around the four sides of the bed we secured the seams with a 4×6 galvanized brace. Seams should not line up directly over seams from the earlier row. If they do, rearrange your lengths. This makes the bed stronger. Use a mallet to tap the timbers into place.
- We continued adding rows of timbers using a hammer or mallet to tap them into place and securing each joint with a brace. The corner of the bed timbers overlap in Lincoln Log style. Check the corners with a triangle square to be sure that they are reasonably square.
- We continued sizing and adding timbers until the final height of our bed is 18 inches on its high side (our bed was on a slight slope, so one side is deeper than the other).
- Next we filled the bed with a good growing medium. We have access to potting soil by the truckload, so that is what we used. However, the amount of premium potting soil to fill this 8 x 24-foot bed would retail for several hundred dollars. So instead, we recommend that you either fill it gradually using your own homemade compost and chopped leaf litter or order municipal compost in bulk if it is available in your area. If you prefer to fill it all at once, check your yellow pages for local landscape companies that advertise "bulk material." Most sell sifted topsoil in bulk that will work fine if you also combine it with compost or soil conditioner at a rate of 1 part soil and 1 part compost or soil conditioner. There is usually a delivery fee so you will have to weigh that against the cost of taking your own pickup truck or a borrowed one.
- After our bed was filled to the top, we wound 2 50-foot soaker hoses across the top so that they are about 12 to 18 inches apart in the bed.
- After our bed was filled to the top, we laid landscape fabric over the top.
This is optional, but we did it to keep out weeds. We will plant through the fabric and then mulch over it. That way when we're really busy, the soaker hose under the fabric will take care of watering and the fabric topped with mulch will eliminate the need to weed. Most folks are just fine with a layer of organic mulch. The fabric is not necessary, but we're telling you about it so you won't wonder what was going on in the accompanying video.