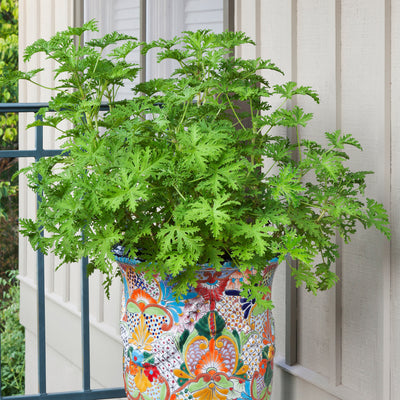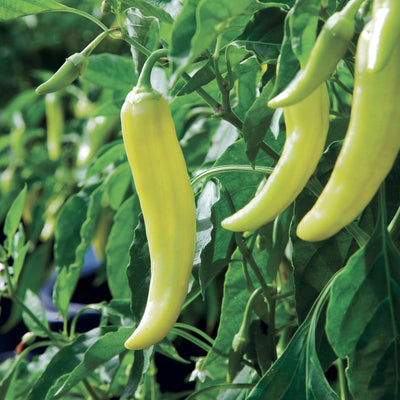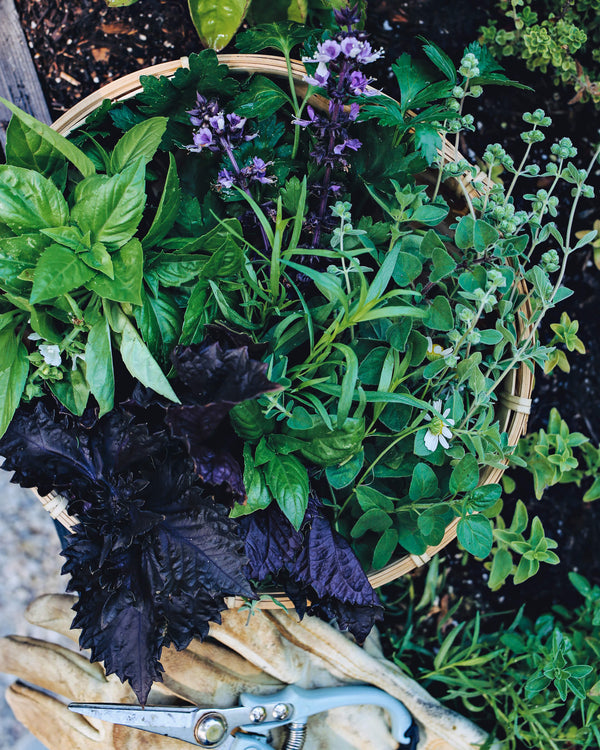

 Herbs
Herbs
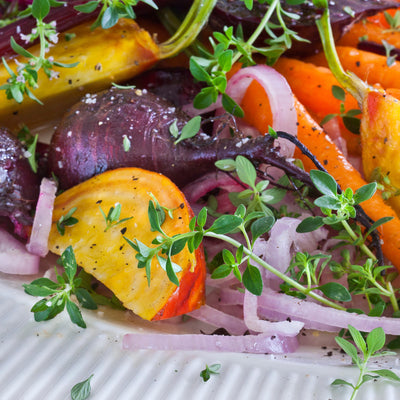
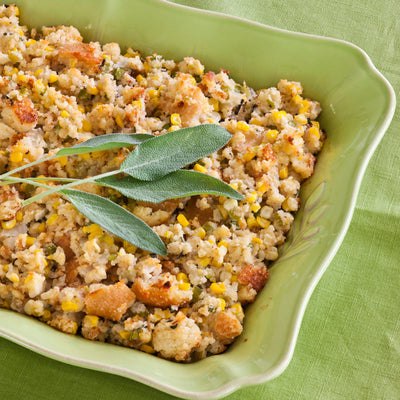
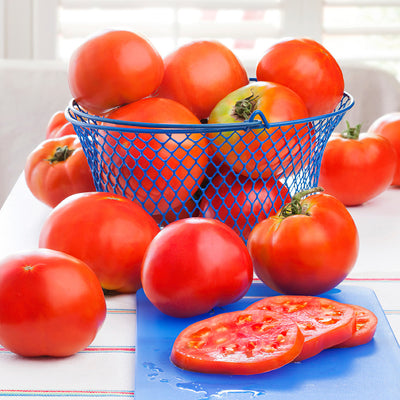
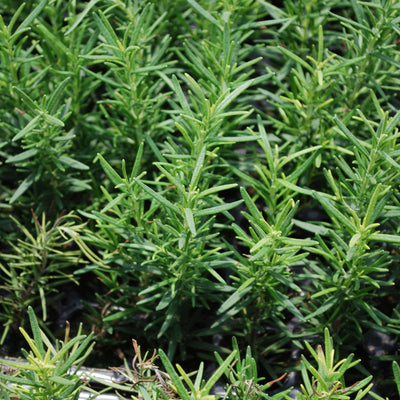
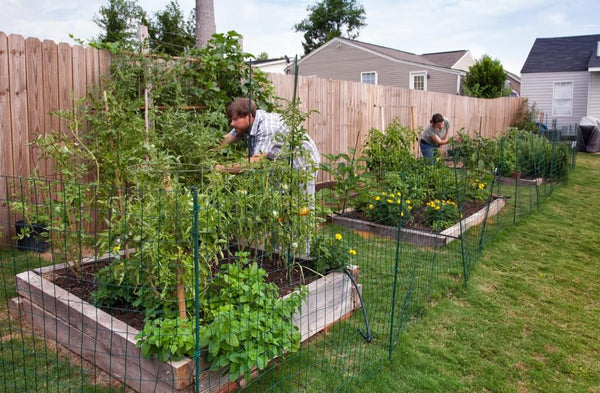
 Vegetables
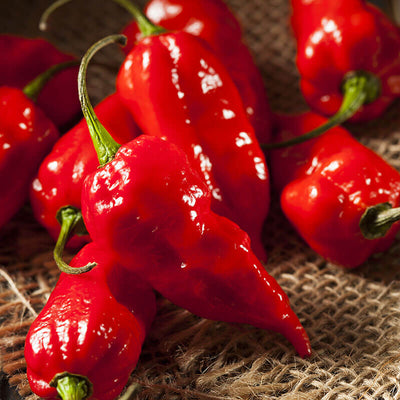
 Fruit
Fruit
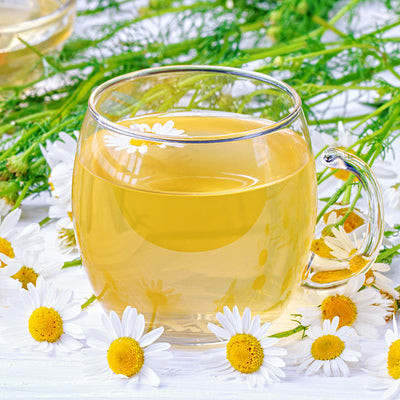
 Flowers
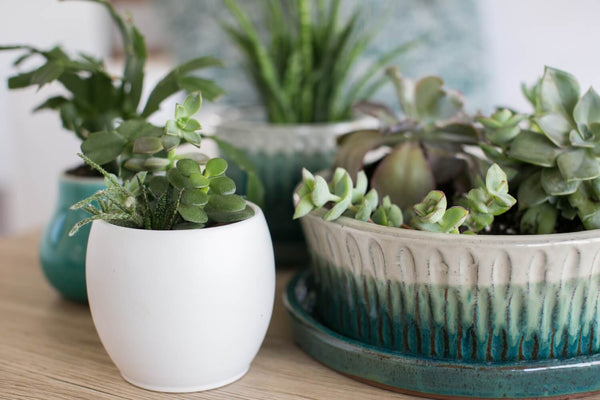
 Succulents


What is it about starting seeds that gives us such delight? It may have something to do with the joy that comes from encouraging new plant life indoors while it’s still chilly outside, or, later in the season, with the tactile pleasure of poking tiny seeds into sun-warmed garden soil, envisioning the green sprouts soon to come. Seed-starting is a great diversion and a fun challenge, too—imagine (or remember!) the immense pride you feel when you share your garden-to-table meals with family and friends, knowing that the delicious salad or scrumptious bruschetta began as a tiny seed grown by you. Another bonus: Plants grown from seed make an excellent complement to your ready-to-grow Bonnie Plants in the garden.
When to Start Seeds
Once you have those seed packets in hand, we know you’re going to want to get growing! But hold tight: Start seeds too early, and you might end up with leggy, overgrown plants that need babying until the frost disappears and the soil warms up. Start seeds too late, though, and you’ll be drooling over your neighbor’s BLTs while forlornly willing your plants’ blooms to turn into fruit. So, how do you know when it’s prime time for seed starting?
Don’t worry: we’ve got you covered. You’ll find all the information you need in our When to Plant Guides. From artichokes to zucchini (and everything in between), they’ll tell you when it’s time to start planting (both indoors and out) in your area.
Also, be sure to read the seed packets when planting your veggies and herbs. They offer lots of useful information, like days to germination, ideal temperature, how deep to plant the seeds, days to maturity, plant spacing, sun needs, and more.
Pro Tips for Seed Starting
Some seeds need a little extra TLC to get started. Tomatoes and peppers, for instance, need warm soil to germinate, so a heat mat under the seed-starting tray can help boost success. Soaking certain seeds, like garden peas, overnight in water can speed sprouting. Lettuce seeds need light to germinate, so sow them on top of the soil. And some seeds, like borage, need to be kept in the dark until they sprout. (All seedlings need light as soon as they germinate, though.) Again, check the seed packet!
No matter what kinds of seeds you’re planting, be sure to pick a spot in your home with good light (or access to electricity, if you plan to use grow lights), consistently warm temperatures, and good air circulation—all crucial for good growing.
Also, know that while slower-growing seeds are best started indoors, some seeds are great for sowing directly in the garden. Radishes, for example, mature in about a month, so you can go ahead and sow those seeds right alongside your Bonnie Plants starter plants. You may also want to consider doing succession plantings with fast-growing seeds, which means planting a new batch every couple of weeks, so you’ll have a continuous supply of fresh veggies to enjoy.
Gather Seed-Starting Supplies
Some garden centers offer seed-starting kits with many of the supplies you need (cell propagation tray, leak-proof bottom tray, humidity dome) packaged together for convenience. But you can also save money and help the environment by using upcycled containers, like old nursery pots, yogurt cups, pots made from cardboard tubes or newspaper, coffee cups, berry containers from the grocery store…use your imagination! Just make sure to clean upcycled containers, soaking them in a solution of 10 percent bleach and 90 percent water, then rinse well. Also, make sure containers provide good drainage—go ahead and poke some holes if you need to.
Gather these seed-starting supplies:
- Seed-starting tray(s) with humidity dome(s) or recycled containers and clear gallon zipper bags (the domes/bags help retain moisture)
- Miracle-Gro® Seed Starting Potting Mix, specially formulated for great root development to give your seeds a strong start
- Heat mat with thermostat (optional but nice for speeding germination in warm-season seeds)
- Good light—this can be a sunny windowsill, a desk lamp with a full-spectrum bulb, or a grow light
- Timer and extension cord, if using grow lights
- Plant tags and a marker
- Spray bottle and water.
How to Start Your Seeds
Now that you’ve gathered your supplies, the real fun begins! Here’s what to do.
- Start by filling your containers or seed trays with moistened Miracle-Gro® Seed Starting Potting Mix.
- Using your index finger, firm the mix into the cell/container, leaving a shallow indentation. Place one or two seeds per cell/container. (Depending on the size of the container, you may add more seeds, but be careful not to overcrowd.)
- Check the instructions on the seed packet, and cover seeds with seed starting mix to the appropriate depth or simply press the seeds into the top of the mix if they need light for germination. Use plant tags so you won’t forget which seeds are which!
- Using a spray bottle, gently water the seeds to settle them into the mix.
- Place the trays/containers onto a heat mat, if needed, and cover the tray/containers with a humidity dome or clear plastic bag to maintain moisture.
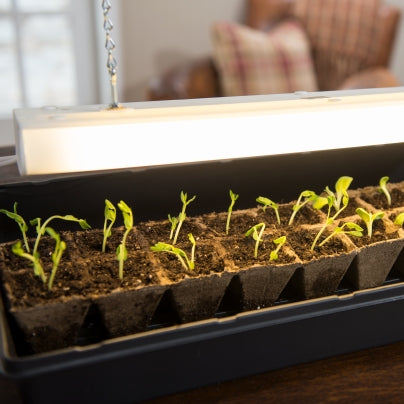
- Turn on grow lights and adjust the light fixture so it’s two inches above the seeds. Set the timer so the plants receive 12 to 16 hours of light per day. If you’re not using grow lights, place the seeds on the sunniest windowsill in your home.
- Check seeds daily and spritz with water as needed. Don’t let the potting mix dry out!
- Remove the humidity dome/bag when the first leaves appear. Called cotyledons, these are the seed leaves and are not “true” leaves.
- Bully the babies! It seems counterintuitive, but “roughing up” your seedlings will turn them into stronger plants. Brush your hands over them several times a day, which will strengthen the stems and help prepare them to withstand wind when planted in the garden.
- When the second set of true leaves appears, it’s time to move the seedlings into bigger containers. To pot them up, gather larger containers, like plastic cups with drainage holes, repurposed (clean) nursery pots, or biodegradable pots. Fill them with a premium soil like Miracle-Gro® Potting Mix to provide the nutrients your plants need to grow strong, then make a hole in the center of the soil with your finger.
- Using an old fork, gently scoop the seedling under the roots from the cell tray/propagation container. Choose the strongest seedlings to replant, and if you want to keep multiple plants growing together in the same container, gently tease apart the roots to separate them.
- Insert the seedling into one of the larger containers with potting soil. Repeat the process for each ready seedling, then place pots in a leak-proof tray to protect furniture. Water plants thoroughly, making sure excess water drains well.
- Place plants under lights or on the windowsill and check daily to see if they need watering.
How to Transplant Seedlings into the Garden
As the weather warms and you’re eager to move the plants out into the garden, STOP! Before you relocate them, they need to be hardened off, which is the process of gradually getting young plants grown indoors used to outside conditions like intense sun, wind, and rain. Look for a level, partially sunny spot that’s sheltered from the wind, and give your plants about an hour of outdoor time to start. Each day, gradually increase the number of hours they’re outside and the amount of sunlight they receive, and be sure to bring them inside if the nights are cold. Keep them hydrated, too, as wind and sun will make them thirsty. (If you get a rainstorm, though, make sure to pour standing water out of the trays.)
When the weather is right and the plants have been acclimated to the outdoors for about two weeks, you can safely introduce your plants into their new garden home. If you haven’t gardened before or need a brush-up, be sure to check out our tips on how to plant your garden.
Wasn’t that fun? You’ll love the satisfaction of creating seed-to-fork dinners for your family and friends, knowing that those carefully nurtured seedlings will result in many delicious harvests. Enjoy your seed-starting journey!