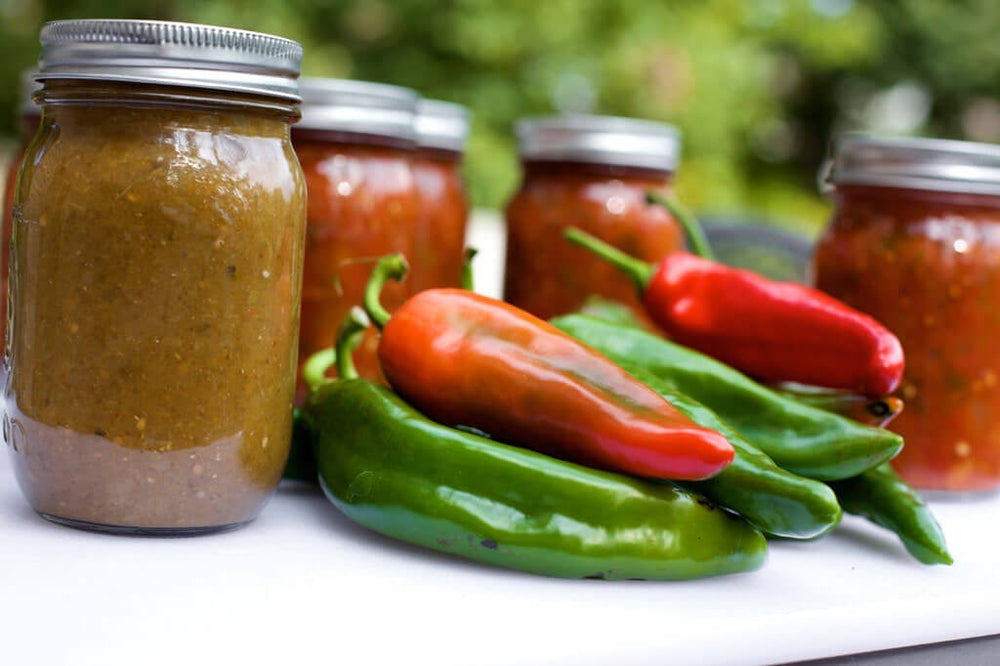
Canning preserves summer's garden-fresh flavors well beyond the harvest season. The result not only tastes great, but can also trim your grocery bill, especially when you grow the food yourself. Don't be intimidated by the canning process—it's as easy as following a recipe. The boiling water method, also referred to as a hot water bath, is a great way to start.
Equipment You'll Need
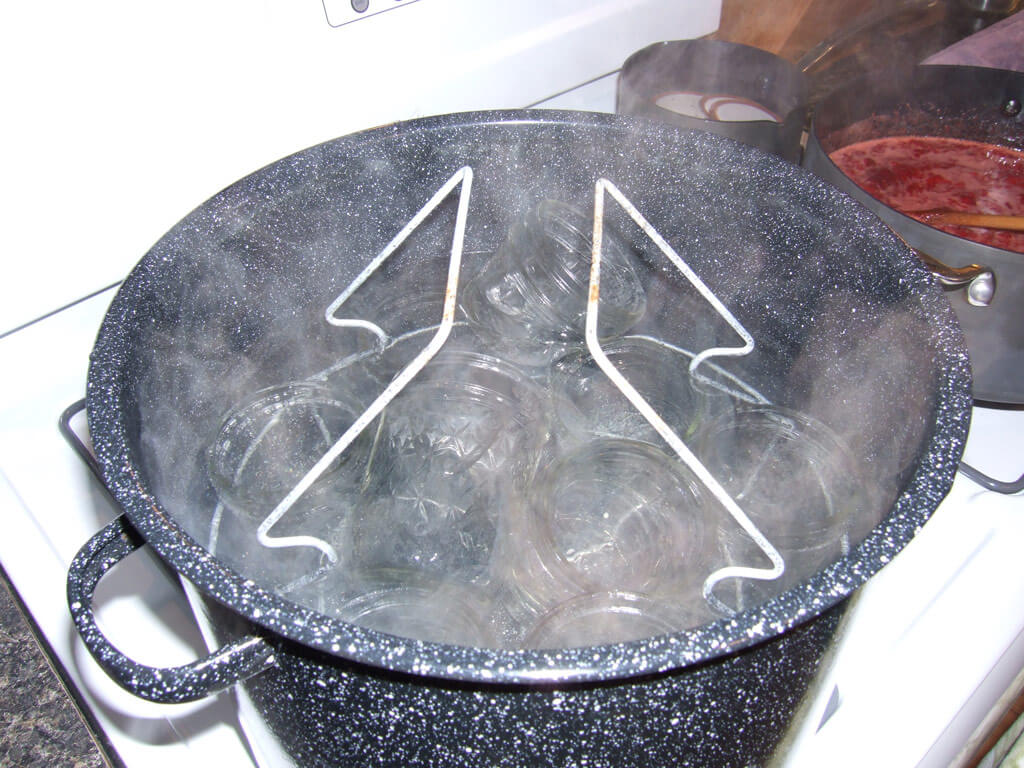
- Boiling water canner and lid, or a large (8- to 12-quart) stock pot with a rack in the bottom. (Jars cannot sit directly on the bottom of the pot)
- Jar lifter
- Wide-mouth funnel
- Plastic spatula, knife, or chopstick
- Tongs or magnetic lid lifter
- Canning jars, screw bands, and lids
What You Can Preserve with Boiling Water
High-acid foods such as tomatoes, plus fruits and veggie salsas, relishes, pickles, jams, and jellies. (Note: Low-acid foods, including most vegetables, meat, and poultry, must be canned using a steam-pressure canner.)
Picking and Prepping Produce
Start with the freshest produce possible. It's okay to remove small spots from food, but if decay has spread into the item, don't can it. Peak vegetable ripeness lingers roughly 6 to 12 hours after harvest, so try to can food within that window if possible. Follow recipe instructions for prepping.
The Importance of Hot Packing
How long canned food will retain top quality depends on how much air you remove from the jars prior to sealing. "Hot packing" (canning food that is still hot) is the best method when using a boiling water canner. Heating food to boiling, simmering 2 to 5 minutes, and adding hot liquid to jars to cover the food all help get rid of excess air. Bonus: Hot packing helps foods keep their color and flavor.

Sterilizing Jars
For food that will be processed for less than 10 minutes, you'll need to sterilize jars first. Fill empty jars with water and place in the canner rack. Fill canner with water to cover jars with 1 inch of water, then bring to a boil. Boil for 10 minutes at altitudes less than 1,000 feet; for higher elevations, add 1 minute for each additional 1,000 feet.
Note: To avoid the breakage that can occur when hot materials are added to cold glass, always heat jars before adding hot food to them. Fill with boiling water; set jars into a partially-filled, lidded canner; or simply begin canning right after you've sterilized the jars.


How to can in boiling water
- Before starting food prep, fill canner with water and begin heating it. You'll need enough water to cover filled jars by 1 to 2 inches.
- Heat jar lids according to manufacturer's instructions. Don't boil them, though, as doing so can cause seals to fail.
- Prepare jars according to recipe, heating or sterilizing as needed.
- Prepare food according to recipe and place into hot jars using a wide mouth funnel. Be sure to follow recipe instructions regarding how much room to leave at the top of the jar (many recipes call for ¼ inch).
- Keep extra boiling water on hand in a large kettle or stock pot. (You'll use this to add to the canner as necessary after you load the jars.)
- Remove air bubbles by sliding a plastic spatula, knife, or chopstick around the inside of the jar.
- Wipe jar rims with a clean, moist rag or paper towel. Food particles on rims can prevent seals from forming.
- Place jar lids on filled jars.
- Add screw bands, tightening only until fingertip tight. Tightening them too much can interfere with sealing.
- Without tilting them, load filled jars into the canner using a jar lifter.
- Add boiling water to the canner as necessary to cover jars with an inch of water. (Aim for 2 inches if processing time is over 30 minutes.)
- Put the lid on the canner and turn up the heat. The processing time will begin once the water starts to boil vigorously.
- Set a timer for the required processing time, making sure to keep water boiling vigorously throughout. If the boil disappears, return the water to a boil and restart the processing time.
- After the timer sounds, turn off the heat, remove the canner lid, and remove jars per recipe instructions. Some recipes require that jars sit in the canner for an additional 5 minutes.
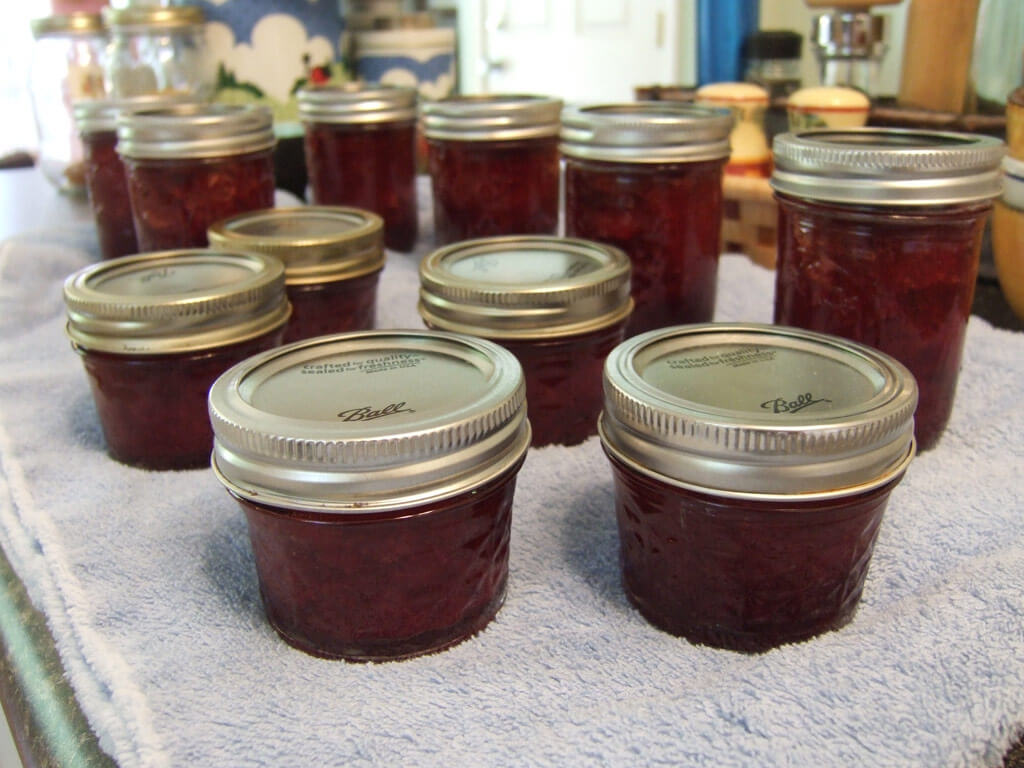
- Use the jar lifter to remove jars from the canner. Place them on a folded towel, leaving at least an inch of space between jars to help them cool.
- Allow jars to cool to room temperature for 12 to 24 hours.
- After 24 hours, test each jar seal by pressing down on the lid. If properly sealed, it will be concave and have no give. Wash or wipe down jars and lids to remove any food residue.

Canning tips
- Before canning, wash your hands and wipe surfaces with a disinfectant.
- Always inspect jars prior to use. Run your fingers along the top of each one, feeling for cracks or chips that would keep the jar from sealing.
- Avoid using antique canning or commercial jars (like ones containing salsa or mayonnaise). These jars are more prone to seal failure and glass breakage.
- Don't reuse lids, as they won't seal a second time.
- Aim to buy only as many lids as you'll use in a year, and date each lid upon purchase. Lids with gaskets usually work for up to 5 years; after that, seals may or may not form (and if they do form, they may not last long). If you do can with lids you've had for a while, mark those jars to use first, and check seals monthly.
- Before filling, place heated jars on an old towel to insulate them from cold countertops and catch dribbles as you fill the jars.
- Prepare a few more jars and lids than you think you'll need, just in case. You can cool, dry, and store any you don't use.

Storage tips
Store canned goods in a dark location, preferably with a temperature between 50 and 70 degrees F. Avoid storing near the furnace, hot water pipes, or stove, or in direct sunlight. Also, don't store jars in an uninsulated attic or other areas prone to freezing and thawing. While freezing alone won't spoil canned food (unless it breaks the seal), it does make food mushy. Heavy dampness can break seals or corrode metal lids.
For even more information on canning, check out the USDA's Complete Guide to Home Canning.
Article written by Julie Martens.


 Herbs
Herbs
 Vegetables
 Fruit
Fruit
 Flowers
 Succulents
