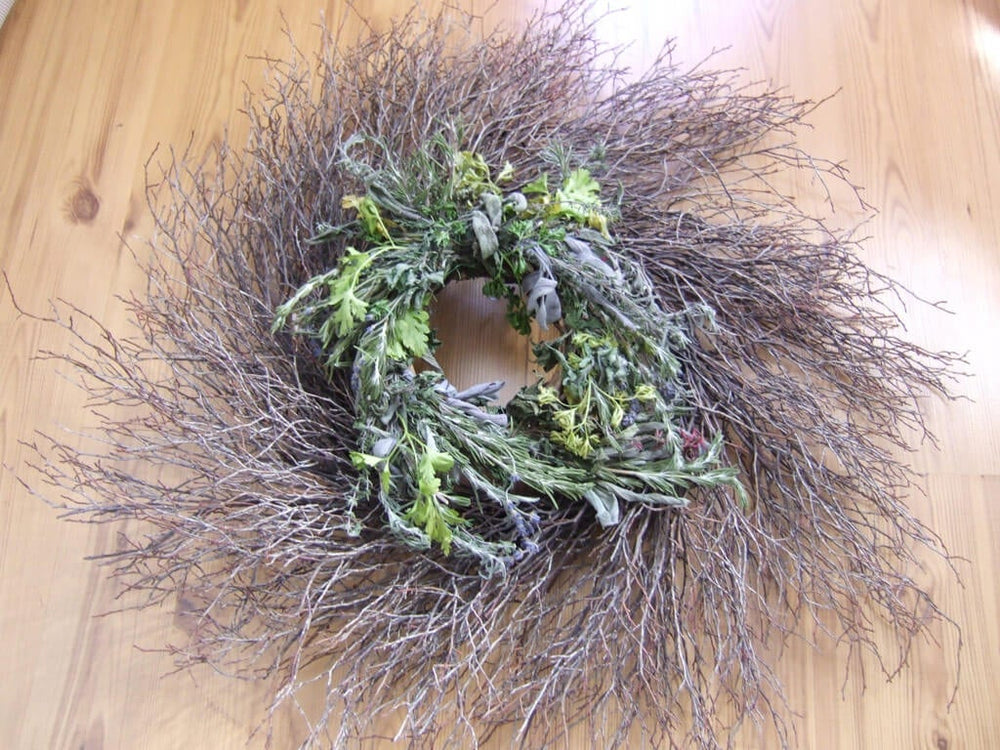
Capture the beauty, fragrance, and flavors of your herb garden in a classic wreath—no special skills or artistic ability required. Not only will it look beautiful, but you can snip herbs from it to season your favorite dishes.
Capture the beauty, fragrance, and flavors of your herb garden in a classic wreath—no special skills or artistic ability required. Not only will it look beautiful, but you can snip herbs from it to season your favorite dishes. Making it as a gift? Tie a small pair of scissors to it with a ribbon to encourage the recipient to do just that. Start with fresh herb stems, which are flexible enough to conform to the wreath shape. (Dried herbs are brittle and break too easily to survive the wreath creation process. ) The herbs will dry in place on the wreath and look good for up to a year.
Estimated Time: About 3 hours for a 6-inch wreath
Estimated Cost: Under $5
Project Difficulty: Easy (with a helper) to Moderate
List of Tools & Materials
Fresh herbs from your garden
6-inch wire or grapevine wreath form*
Floral wire
Pruners or garden snips
Scissors
Wire cutters
Ribbon (optional)
*You can also get great results from a foam or straw wreath. Use wire or floral pins to attach herb bundles, covering the form completely
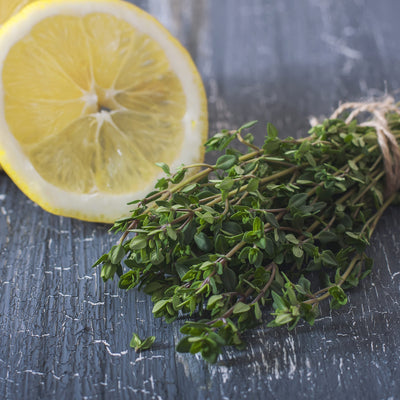
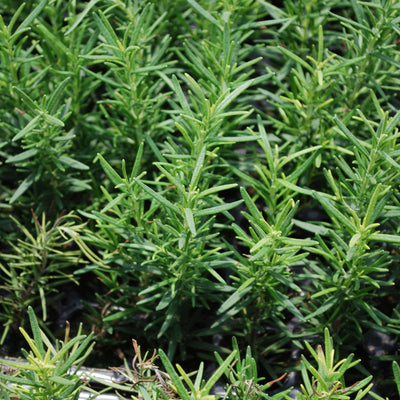
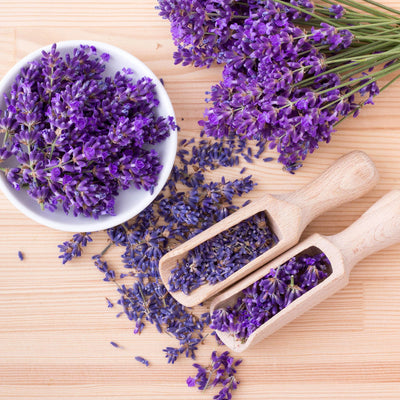
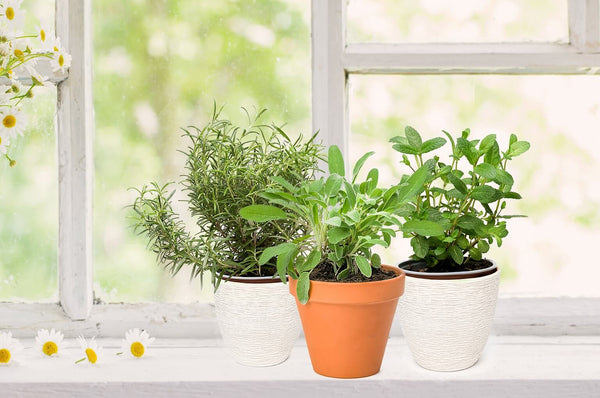
For best results, layer a selection soft-stemmed herbs (like mint, stevia, oregano, lemon balm) atop some woody-stemmed herbs (like rosemary, lavender, thyme). Include herbs with flowers, plus those with a variety of leaf shapes and colors to add textural interest.
You may also select herbs for your wreath based on a culinary theme, such as:
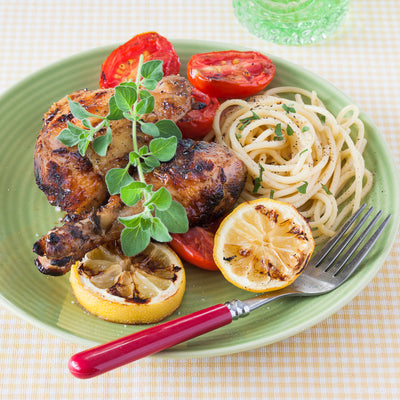
Thyme, parsley, sage, and rosemary to add savory seasoning to stocks, soups, and meats.
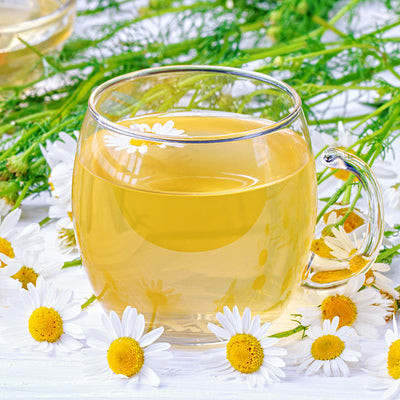
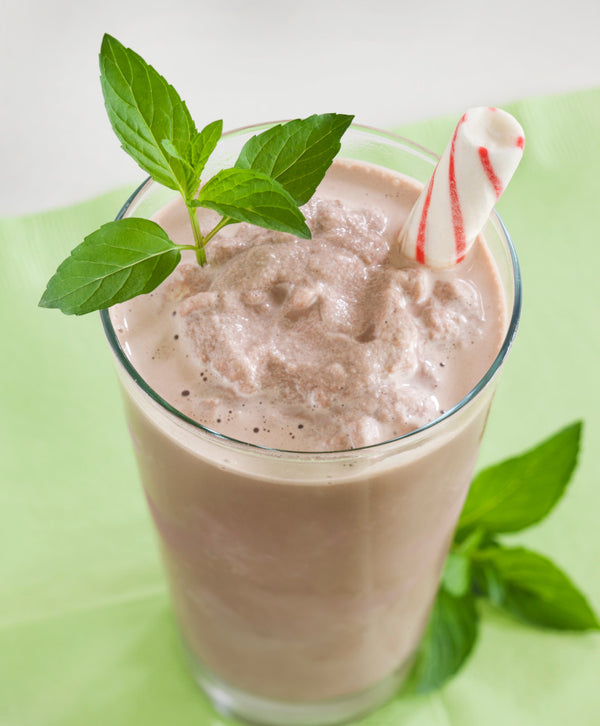
Lavender, lemon balm, stevia, mint, and pineapple sage for brewing flavorful teas.
Mint, rosemary, lemon balm, lavender, and stevia for creating thirst-quenching lemonades.
Article written by Julie Martens.
You probably already have some of the supplies you need, though you may need to buy a form. Both grapevine and wire forms work well, with wire ones offering the bonus of air flow around the drying herbs. If you wish to use a larger form, you'll simply need more herbs and wire.To harvest herbs with the highest concentration of essential oils, cut stems about mid-morning, after the dew has dried. Put them in a little water if you won't be using them for a few hours.1. Harvest the herbs you wish to use, leaving stems at least 8 inches long if possible.2. Cut several 10-inch lengths of floral wire. Trim herbs to a uniform length of 6 to 8 inches, stripping leaves from the bottom portion, then make them into five to six bundles, wrapping the stems tightly together with the wire. Turn stems from side to side and top to bottom to keep everything visible.3. Begin adding the herb bundles to the wreath form, wiring them securely as you go.4. Slightly overlap the bundles, positioning the newest one to cover the exposed stem bases of the previous bundle. As stems dry over time, the bundles may loosen somewhat, especially with soft-stemmed herbs. To keep this from happening, use rubber bands to hold stems together; the bands will tighten as the stems dry.5. Create a two-sided herb bundle to cover the remaining open space on the form. (Or, use a pretty bow.)6. Add individual leaves or herb sprigs to cover any exposed wires. Wire ends can be worked into the wreath form, or snipped.7. To create a simple hanger, slip a paper clip through the back of the wreath form. Or, create a hanging loop with floral wire or a twist tie.8. Now your beautiful wreath is ready for drying.9. Place the wreath in a shallow box or lid, then put it in a dark, dry area to allow it to dry for a few days. Check the wreath daily; as the stems begin to dry, shift any wayward stems to bring them into line with the wreath form. Work in a few fresh stems to fill in bare spots as needed.10. And you're done!11. If you’d like to make your wreath a little larger, simply wire it to a larger twig or evergreen wreath.12. Your herb wreath can also double as a pretty candle ring—a beautiful holiday table centerpiece!


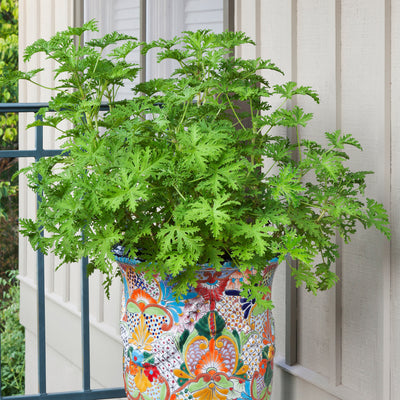
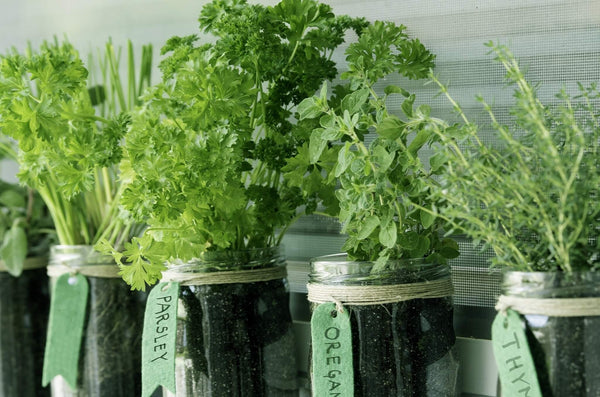
 Herbs
Herbs
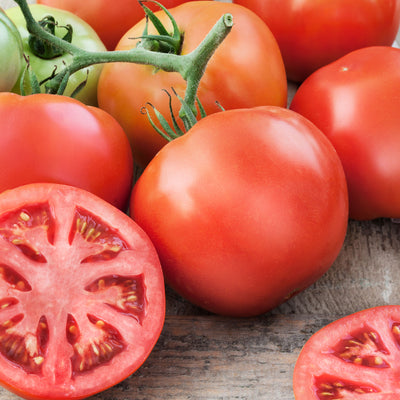
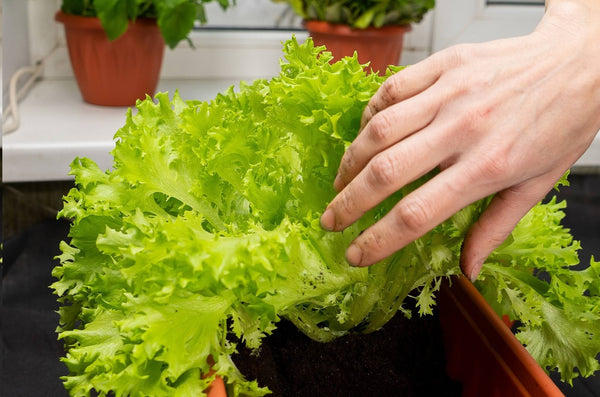
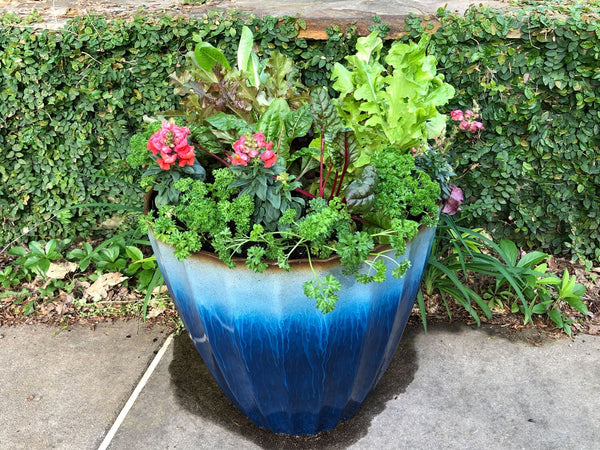
 Vegetables
 Fruit
Fruit
 Flowers
 Succulents